Back to Help Center

How to link product to 3D model

Learn how to link Vizbl objects to products in Shopify
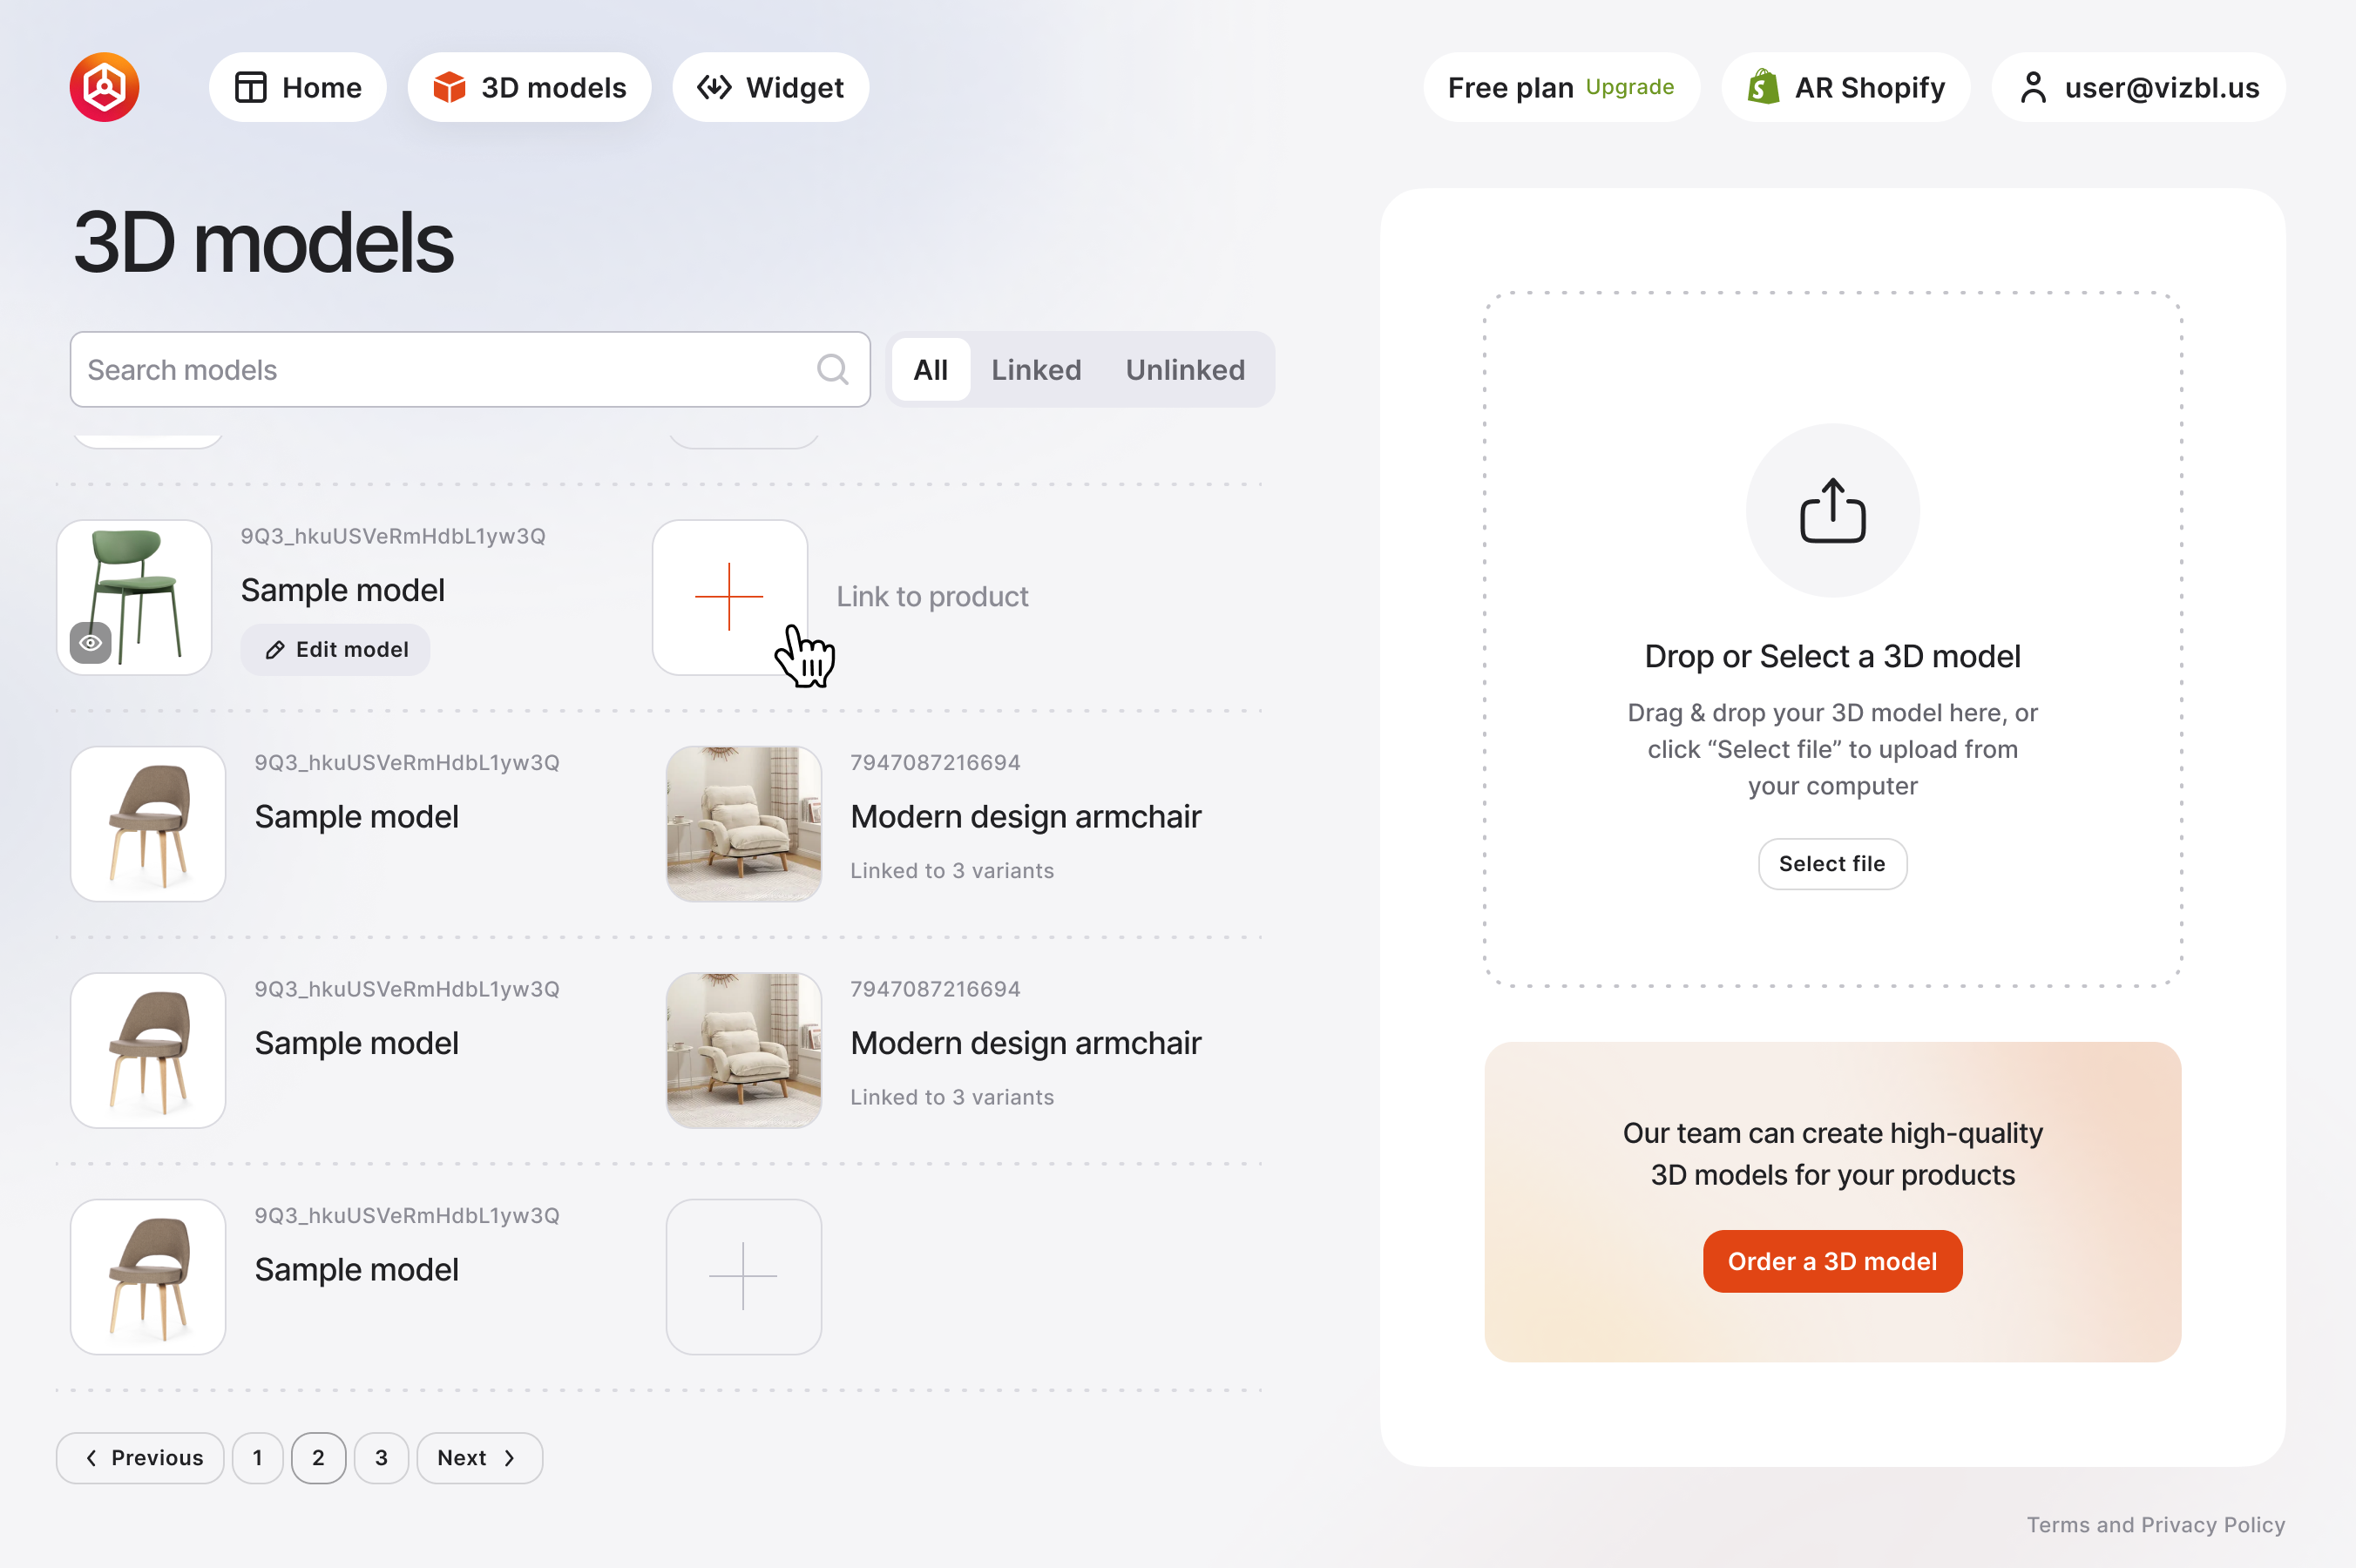
Before setting up an integration, you’ll need to connect your VIZBL 3D objects to your Shopify products. 

Follow these steps:

‍

1. Log in to the VIZBL App

In your Shopify admin, open the VIZBL App from the left-hand menu.

Go to the Object Manager tab.

Log in with your VIZBL account.

Once logged in, you’ll see a list of your uploaded objects.

Log in with your account if you see this screen.
After logging in, you will see a list of your uploaded items.

2. Check your uploaded objects

Make sure you have at least one 3D object uploaded to VIZBL.

If you don’t, upload a model following the 3D model upload instructions and 3D model requirements.

Need help creating a model? Contact us.

3. Link a 3D model to your product

Go to the Product List tab to view your Shopify products.

Select the product you want to connect and click Link.

Important: If your product has multiple variations, select the top row labeled “All variations”. This ensures AR is applied to all product variations in Shopify.

4. Choose the object 

From your VIZBL library, select the matching object for your product.

If the object has multiple versions, choose the one that best represents the product (for example, the most popular or default option).

Once linked, the object will be connected to the product and all its variations in Shopify.

Optional: Link colors

You can also link Shopify product colors to matching colors in VIZBL.

In your product list, select a specific color variation.

Click Link, then choose the corresponding color option from your VIZBL object.

That’s it!

Your products are now linked to VIZBL 3D models. You’re ready to integrate them into your Shopify store and let shoppers explore your products interactively in 3D and AR.

‍

‍