· AR · 6 min read
How to take photos for 3D modeling: Which product shots work and how to shoot them on your phone
Which product photos an AI 3D model generator can use, how to shoot them on your phone if you don’t have the right ones, and which shots to drop before you upload.
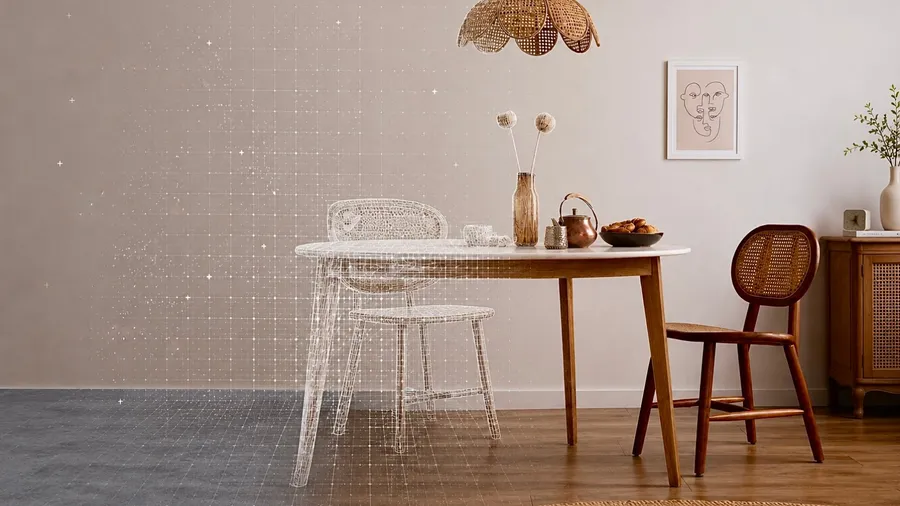
Say you run a small furniture store and want to try adding AR to your site, but you aren’t ready to pay 3D artists for models yet. AI can build them from your product photos instead, and whether that first try works depends on what you give it. This guide covers which photos get you a model good enough for your product pages and how to take photos for 3D modeling yourself.
Look for existing product photos first
You don’t need a new photo shoot to generate a model. The photos you already have will work, whether they’re from your product page, your supplier, or somewhere online, as long as nothing blocks the product and no part of it is cut off. They don’t even have to come from the same shoot: the VIZBL 3D generator removes the background from every photo.
Most important, every photo has to show the same product. If the set mixes products, the AI may mash them together into a Frankenstein’s monster: the back of one sofa, the legs of another, and the overall shape of an armchair.
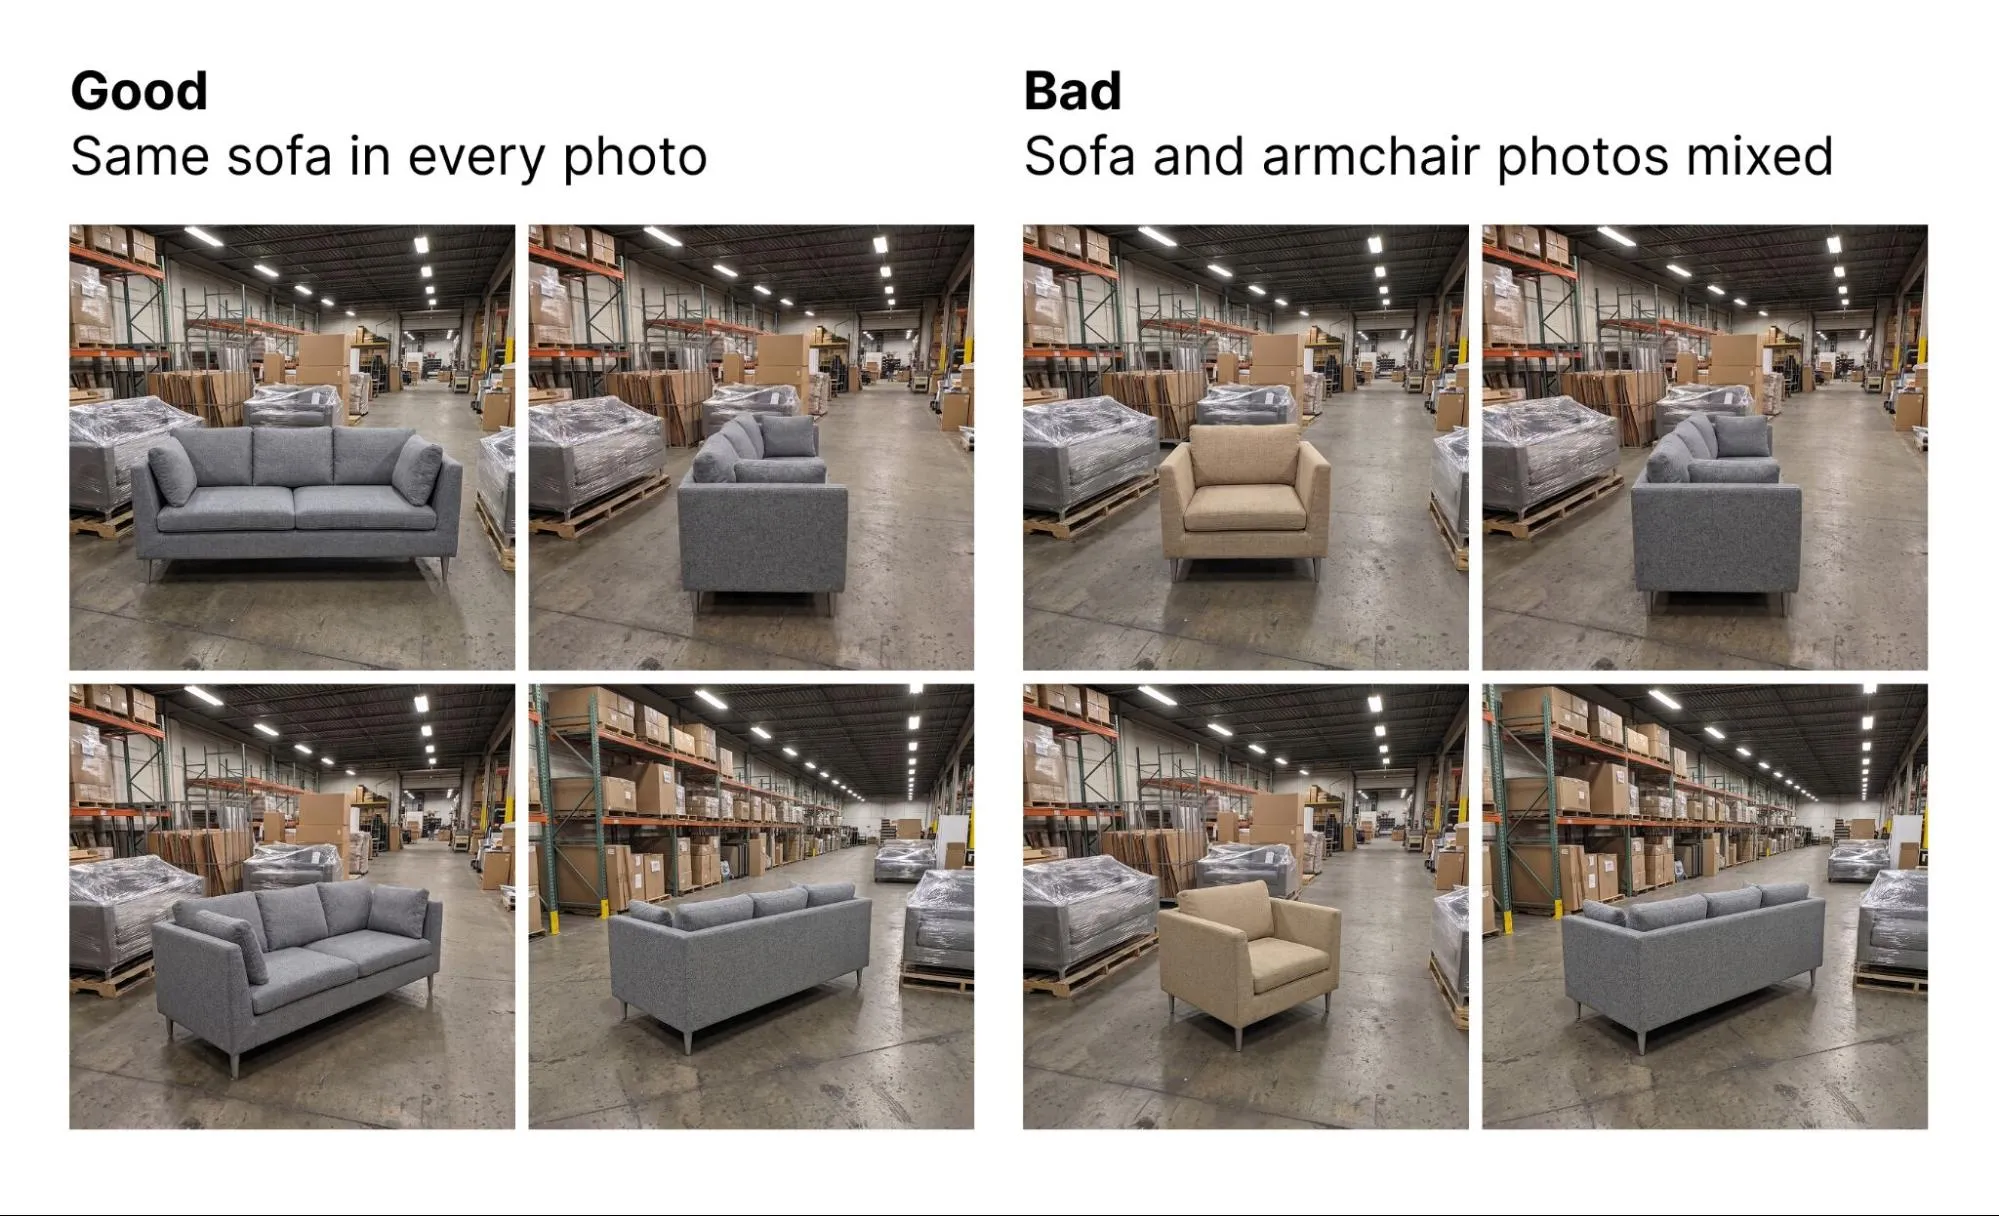
The AI can work from a single photo, but then it won’t have enough to go on. Upload only a front shot of a sofa, and the AI has no way to tell what its left and right sides look like. It makes them up instead, with details the real sofa doesn’t have. You’ll most likely end up with a model you can’t show shoppers.
Clear a spot to take your own photos
If you can’t find photos that will work, take your own. You don’t need to rent a studio or hire a photographer. The photos below show a sofa in a warehouse, and the AI still built a pretty good 3D model from them:
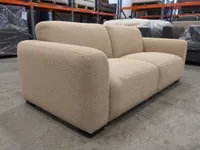
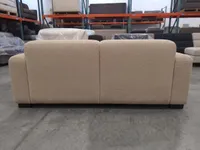
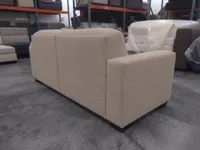
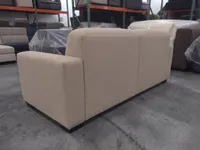
Start by getting the room ready. Pull the product away from the wall and other furniture so you can walk all the way around it and photograph every side. Then move anything that stands in front of it, like boxes. Whatever is behind it can stay, since the background won’t end up in the model. That also means you can mix your own shots with studio photos from your product page or somewhere online.
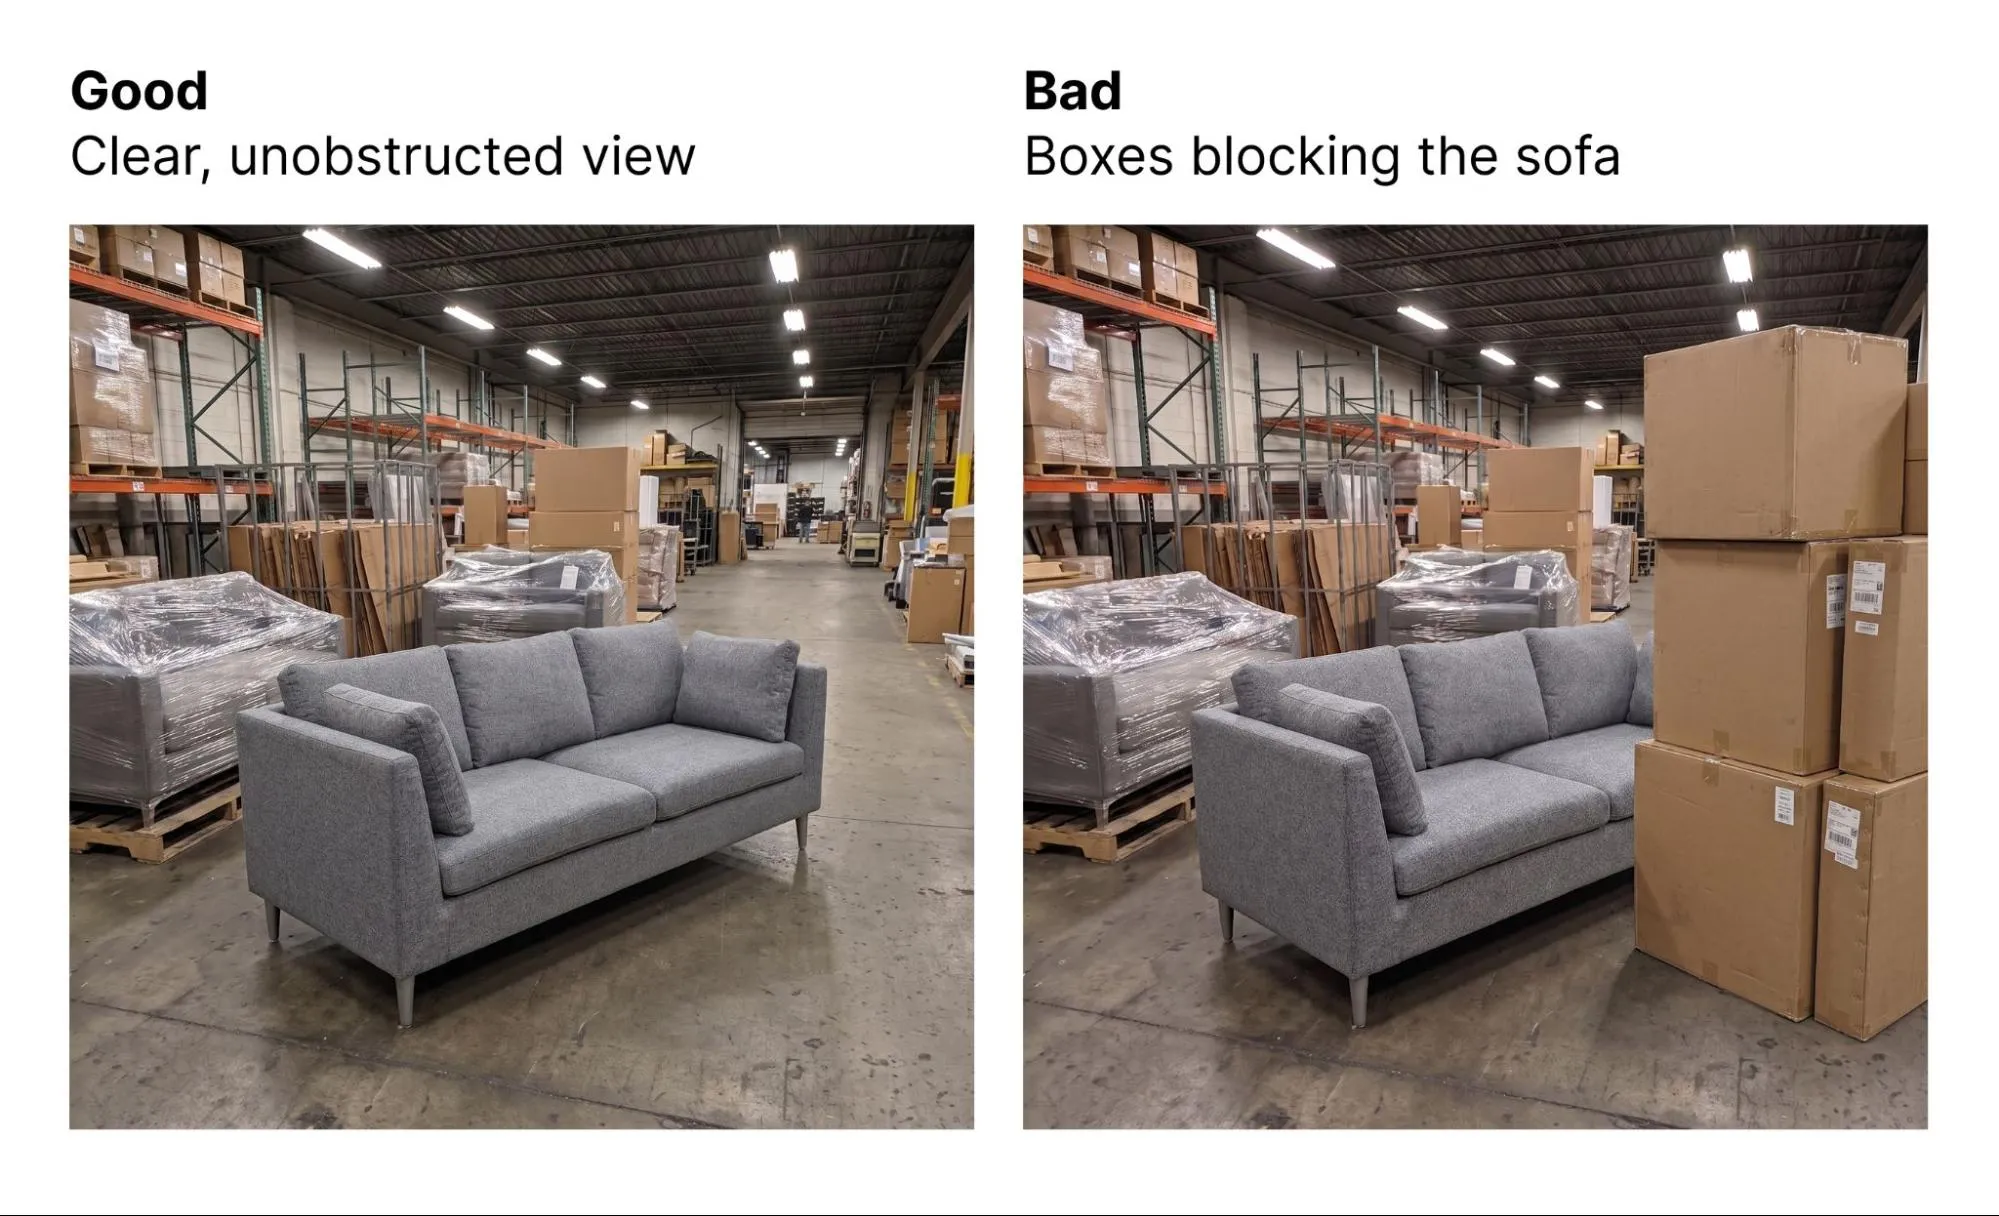
Take off the bedding, throws, decorative pillows, and whatever else isn’t sold with the product. Anything you leave on ends up in the model, and it’s hard to get out once it’s there. We left the bedding on this bed on purpose. The model kept it.
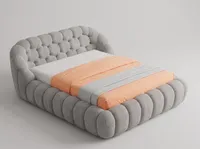
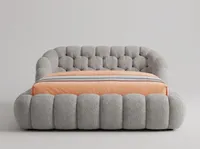
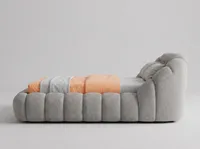
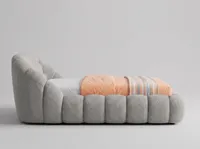
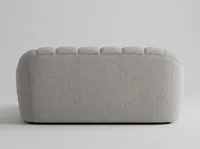
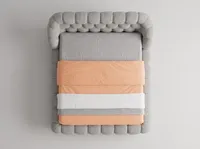
Walk around the product with your phone
Take 4–6 photos:
- from the front;
- from the left;
- from the back;
- from the right;
- from above;
- from any corner, at a three-quarter angle.
The generator lets you pick one of two neural networks: Trellis 2 takes all six shots, and Tripo takes only the first four.
If you can, turn on all the lights so the AI doesn’t have to invent small details it can’t make out. Then hold your phone at about waist height, keep the whole product in every frame, and stay still for each shot. Blurry photos can seriously hurt the model.
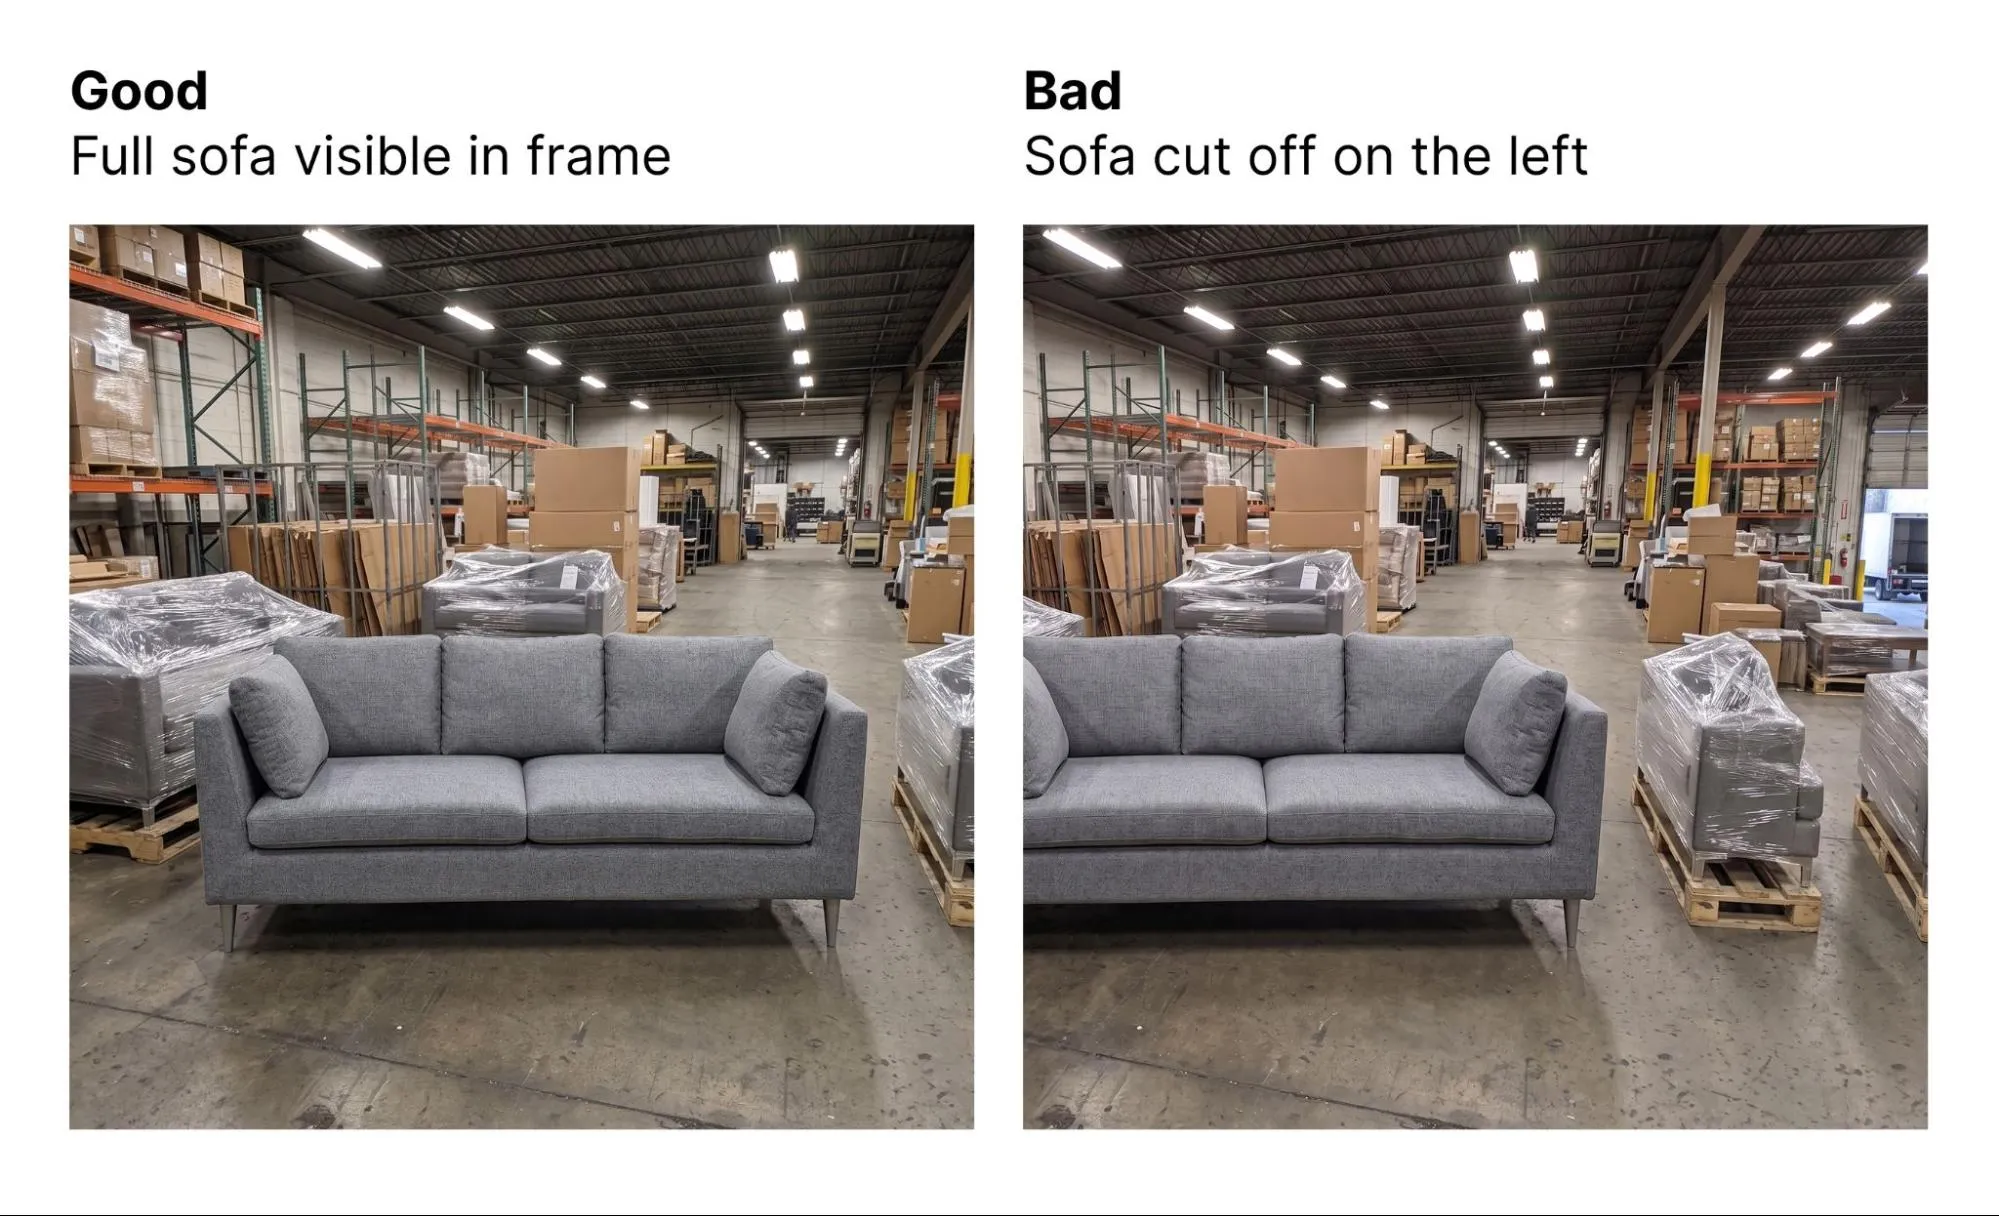
Pick your best shots for Trellis 2 or Tripo
Upload only your best shots: ones where the whole product is in the frame, nothing is blurry, and the room is well lit. Leave out near-duplicates, since they don’t tell the AI anything new. Our set for the warehouse sofa has seven shots, and two of them show the front almost identically. Drop one, and you have exactly six, the most Trellis 2 takes: those are the six above.
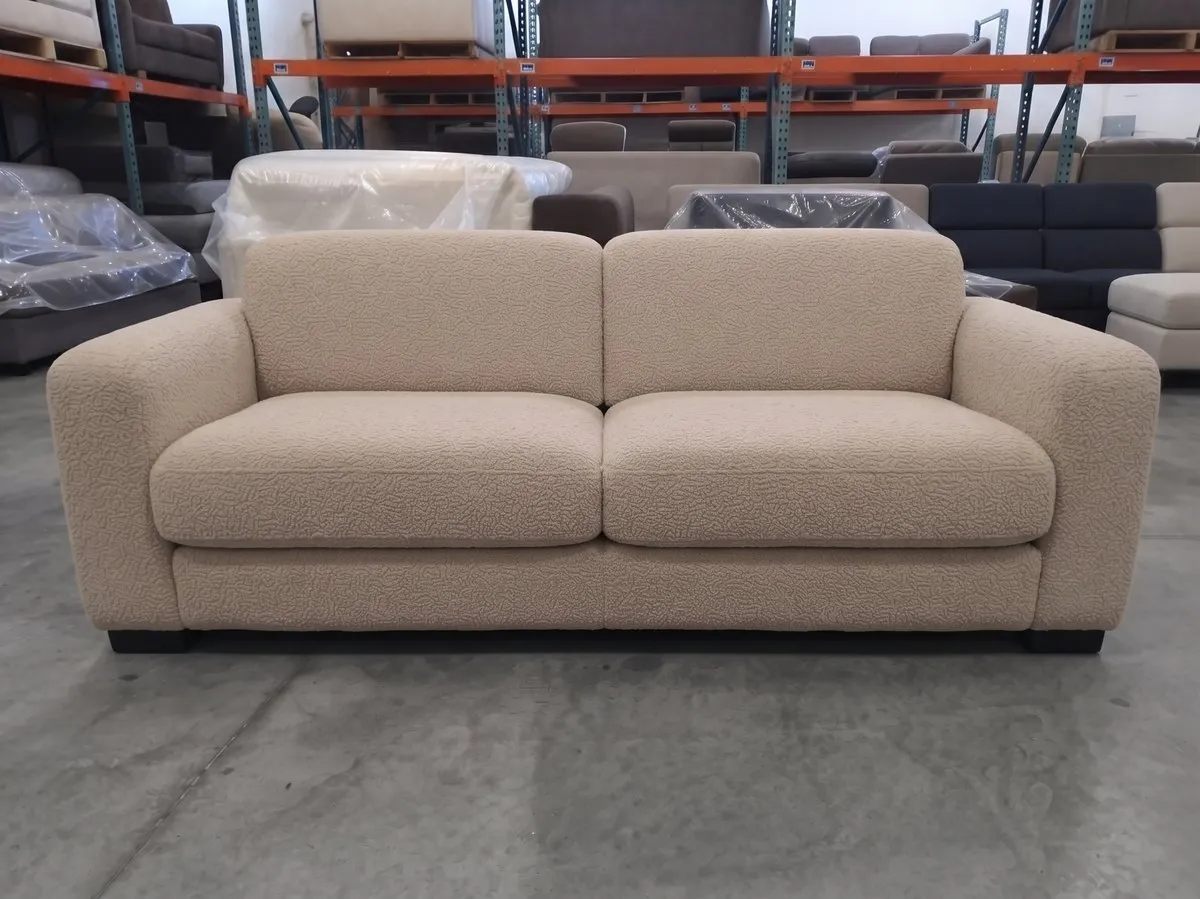
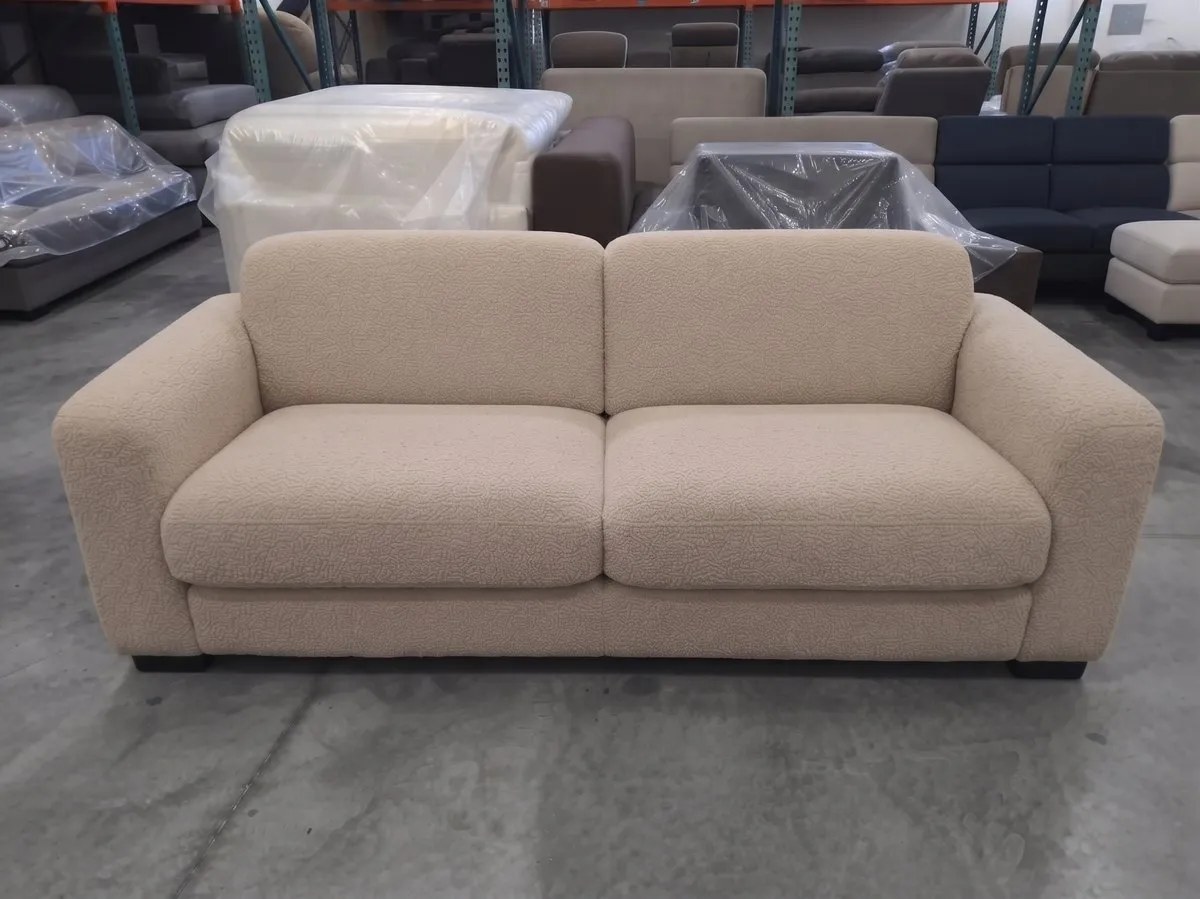
Under Neural network, choose Trellis 2 or Tripo. JPG and PNG both work. Other formats may not go through, so check the file type of any photos from your product page or your phone.
If you pick Tripo, the generator gives you a separate slot for each side: front, left, back, and right. Only the front photo is required, but we strongly recommend filling all four. The AI makes up any side you leave empty.
Generate the model and compare it with your photos
For a product page, choose Standard or High quality. Products with glass, mirrors, or small details are worth running through a quick, inexpensive Preview first to check the shape. If the shape comes out wrong, you won’t have paid for a full-quality model of a product the AI can’t get right.
When the model is ready, compare it with your photos:
- If a side doesn’t look like the product, check whether any of your photos shows it. If none does, shoot that side and add the new photo. Already at the photo limit? Swap it in for the shot that shows the product’s plainest side.
- If the model has something on it that isn’t sold with the product, take it off and reshoot.
- If the photos are fine but the detail or material shoppers are paying for still doesn’t come out right, you’re better off ordering a model of this product from our 3D artists. That happened to a floor lamp in our gallery: in the photo, its shade is an open bowl, but on the model it’s a solid dome.
- If the size doesn’t match the product, there’s no need to reshoot. The AI isn’t given the product’s dimensions, so you fix the model’s size yourself in our 3D editor.
We’ve covered which products to generate and which to order in our post on 3D models for online stores. For help choosing a quality level, fixing the model’s size, and adding it to a product page, see how to go from product photos to AR.
Try one product first: find or take its photos, upload them, and look at the model. It’ll show you whether you can generate similar products the same way before you prepare photos for the rest of your catalog.