· AR · 10 min read
How to make 3D models for Shopify from product photos: Get AR on your product page in 15 minutes
Turn product photos into a 3D model, check its size in AR, and add an AR button to your Shopify product page. We take one armchair through every step.
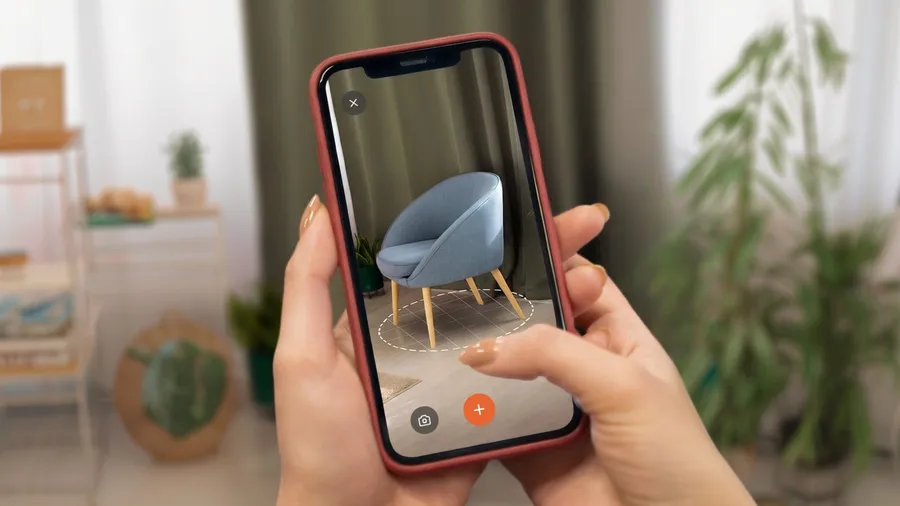
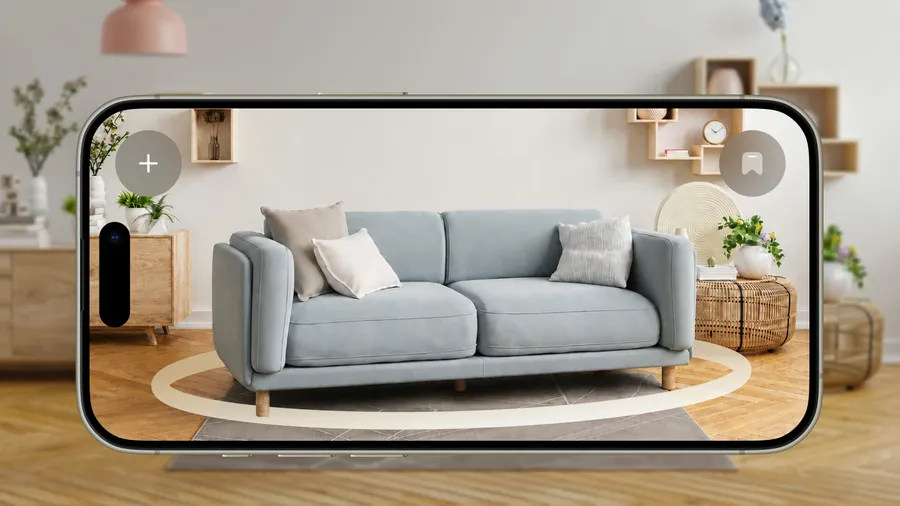
You can generate Shopify 3D models from product photos, without hiring a 3D artist. With a model on your product page, shoppers tap the AR button, place the sofa, dresser, or lamp in their own room, and see how much space it’ll take up before they order. Once they’ve seen it there, it’s easier for them to decide to buy, and fewer pieces come back to you because they didn’t fit.
We’ll take one armchair from its photos to the AR button on its product page. Your own products go through the same steps, about 15 minutes each.
Sign up and upload your product photos
Start in VIZBL’s 3D generation dashboard at 3d-gen.vizbl.com, where AI builds the model from your photos. When you sign up with your email, Google account, or Apple ID, you get 1,000 free tokens to spend on generation.
In the generation form, choose Trellis 2 or Tripo under Neural network. Trellis 2 accepts one to six photos; Tripo accepts up to four, one for each side (front, left, back, and right), and needs at least the front one. Upload the photos as JPG or PNG files and name the model. The name won’t affect the result.
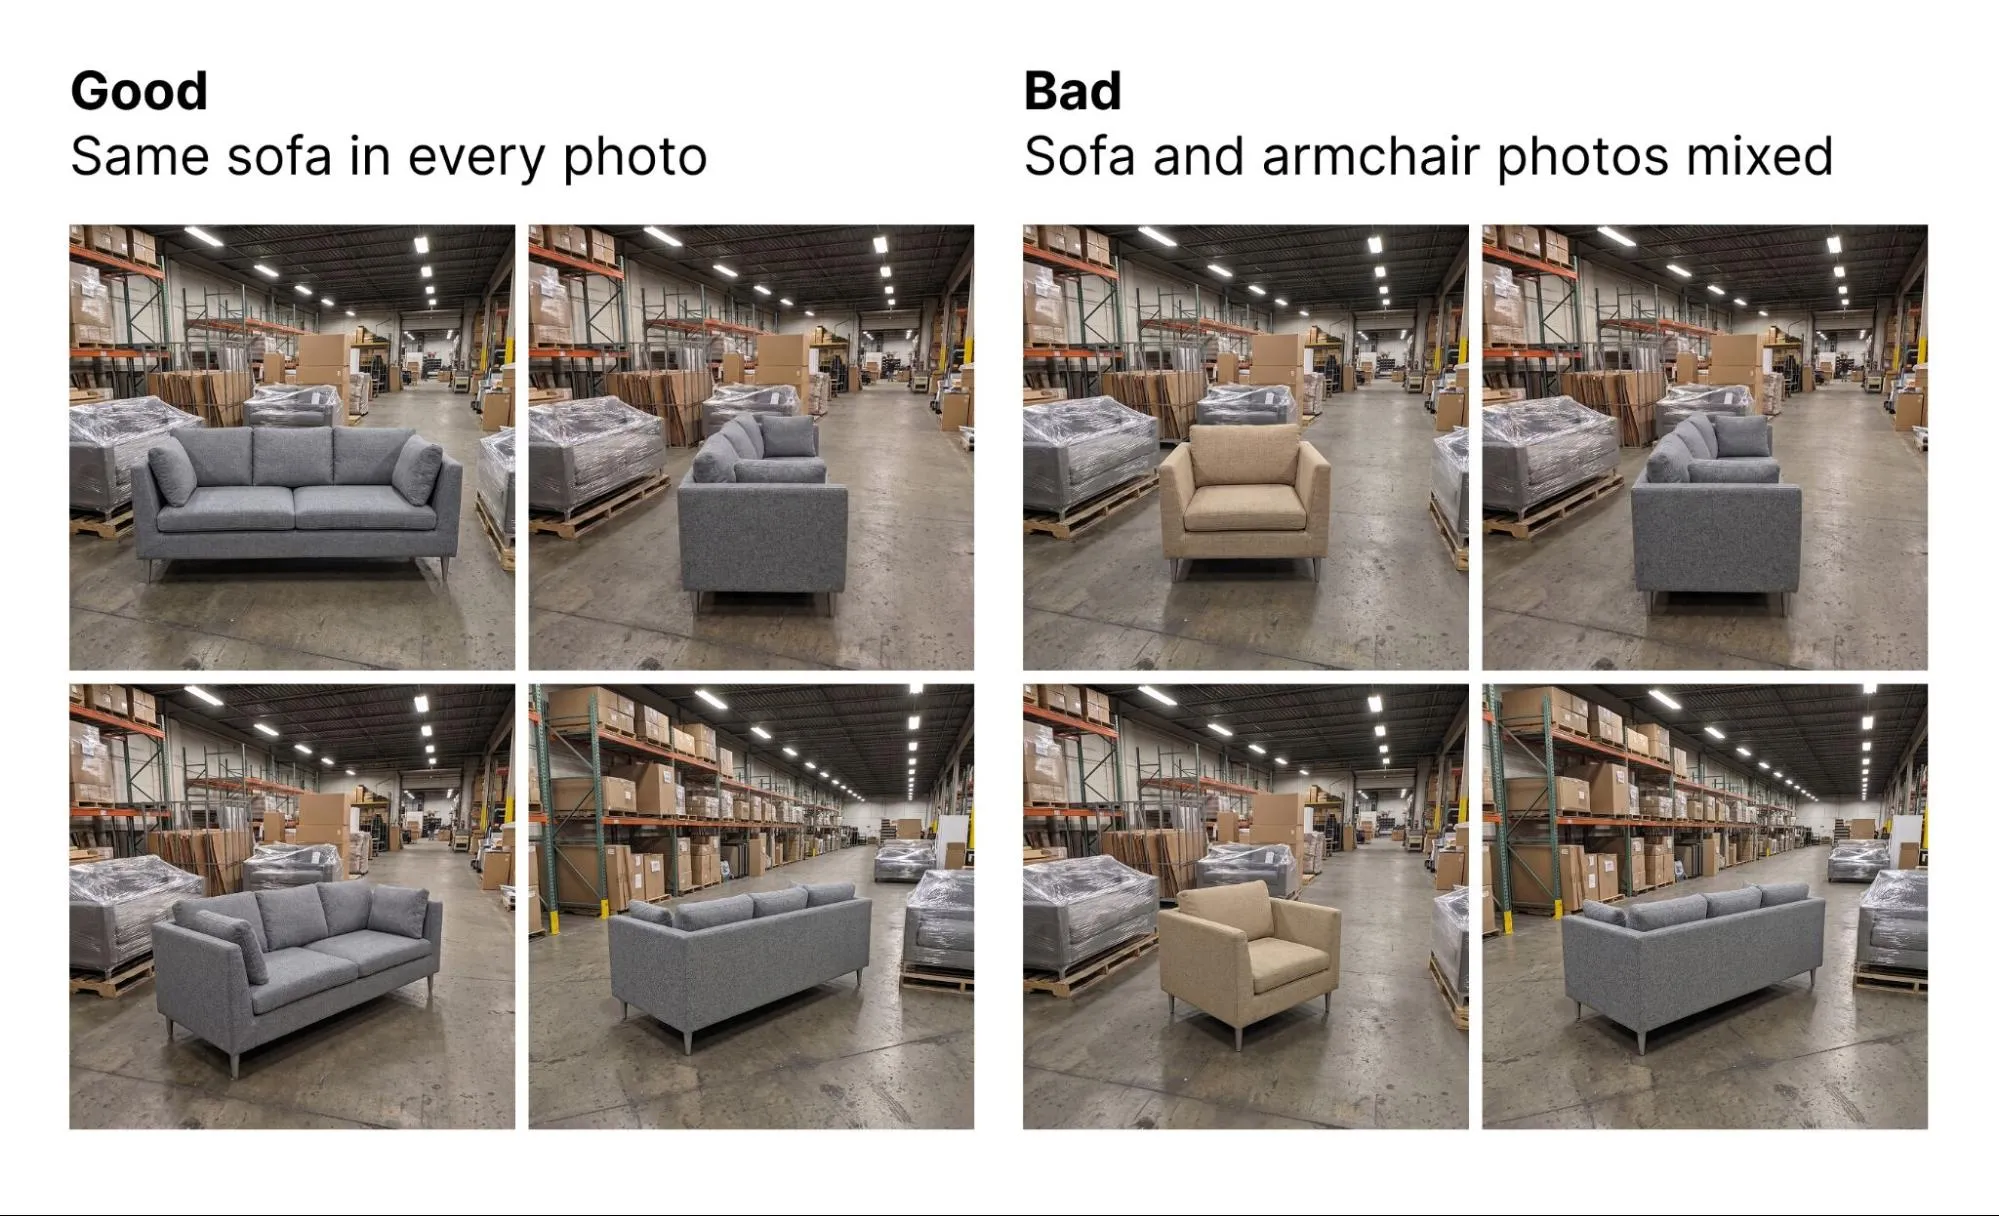
Before you upload, check that:
- every photo shows the same product;
- the whole product is in the frame;
- nothing is in front of it;
- if there’s more than one photo, they show the product from different sides.
Pick a quality preset and generate the model
For a product page, choose Standard or High. Standard takes about 3–5 minutes; High takes about 8–15 but gives the model more detail in its shape and texture.
Preview takes 1–2 minutes and is a low-cost way to test the shape. Use it when you’re not sure the model will come out well, for example, if the product has glass, a mirror, or thin wire parts. Custom lets you choose the settings yourself, but you can skip it. Our presets are already tuned for furniture.
All three models below come from the same photos of one sofa, each generated with a different preset:
If the armchair comes in several colors, it’s easiest to generate each color separately, from its own photos. A generated model is one solid piece by default. If you change its color later in the 3D editor, the whole thing changes, legs included. To recolor just the upholstery, choose Tripo and turn on Split into parts under Advanced settings before you generate. The model then comes out in separate parts but without a texture, so it won’t pick up the look of the fabric from your photos.
The Create button shows how many tokens the model will cost before you click it, and you won’t be charged if generation fails. Once you click it, you can close the tab: generation keeps running. The finished model shows up in your 3D generation library, and you can also choose to get an email when it’s ready.
Each finished model is also added to Core AR, the VIZBL platform you use to put models on your product pages. It’s web-ready right away, so you won’t have to download files and upload them to Shopify. You’ll still need to check that its size matches the product.
Connect your Shopify store while the model generates
You connect your store to VIZBL only once. Do it while the model is generating, and the whole job, from photos to the AR button, takes about 15 minutes.
- Install our Vizbl 3D & AR Connector app from the Shopify App Store.
- In the app, sign in to your VIZBL account, the same one you used to generate the model.
- Activate the app and approve the charge in Shopify.
- In your Core AR settings, add your store’s domain (the address shoppers use to visit it) to the list of allowed domains.
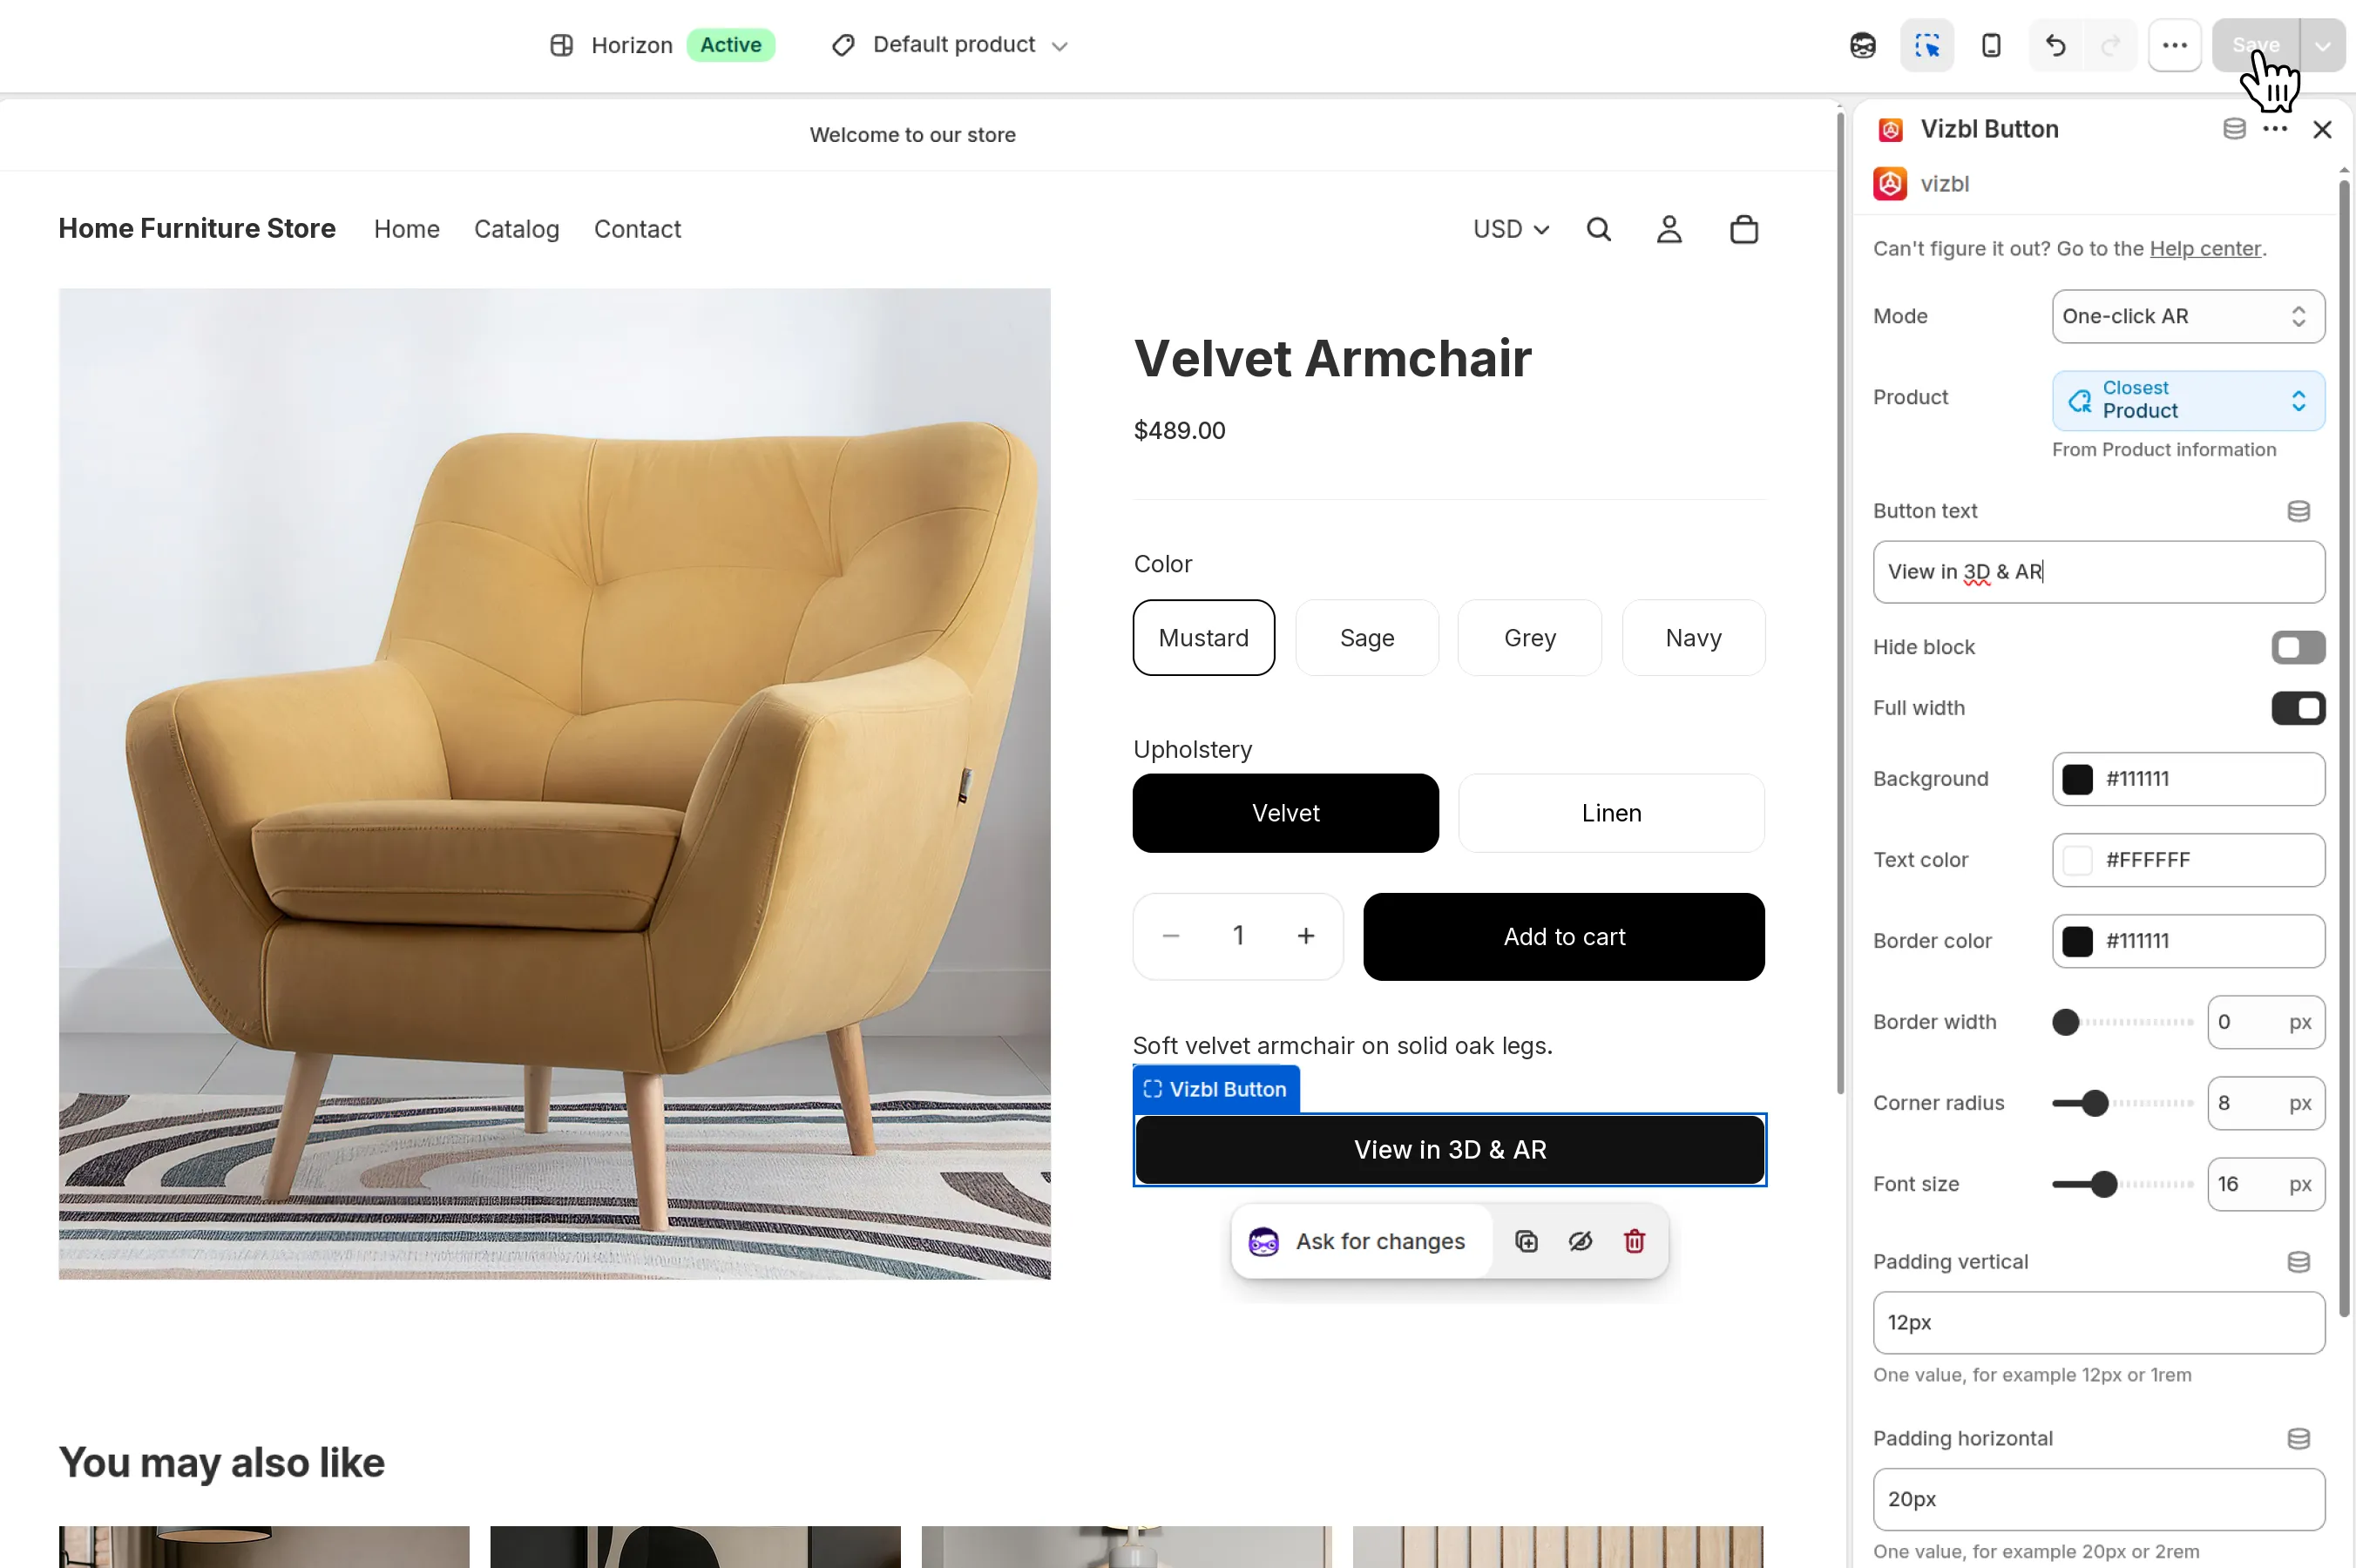
- In the Shopify theme editor, add the Vizbl Button block to your product page template. We recommend putting it next to Add to cart, where the AR button is easier to spot. If your products use more than one template, add the block to each.
The button then shows up on any product whose template has the block, as soon as you link a model to that product. If you switch it to One-click AR mode, shoppers on a computer see a QR code that opens AR on their phone.
Our help center covers each step in more detail.
How to connect the app → · How to add the button to your theme →
Match the model’s size to the product in the 3D editor
Photos don’t tell the AI how big the product is, so the model can come out bigger or smaller than the real armchair. If you don’t fix that, shoppers will see a wrong-size armchair in their room and may misjudge whether it’ll fit.
- Go to your Core AR dashboard, find the model in the model library, and open it in the 3D editor.
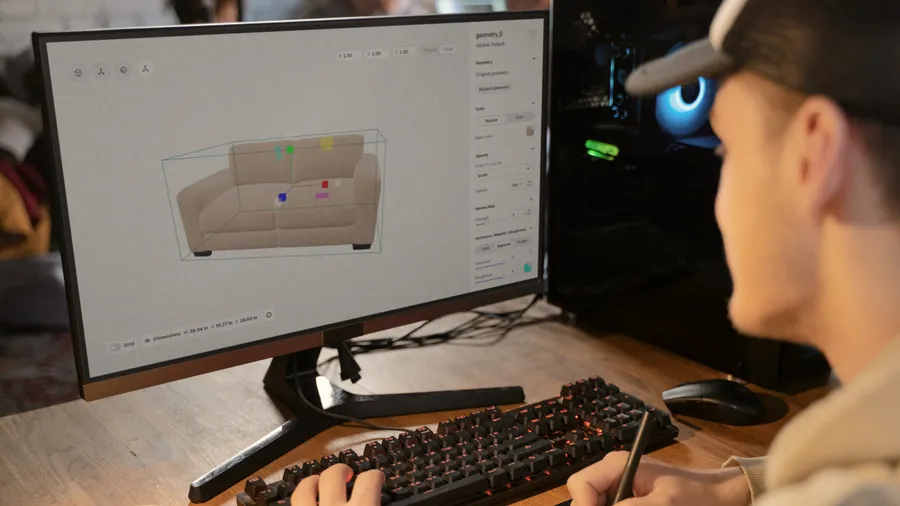
- Check Dimensions below the model. It shows the model’s width (W), height (H), and depth (D).
- If the numbers don’t match the product, select the model in the list on the left. For a model with several parts (for example, because you turned on Split into parts), select them all. Shift-click each one, or click the icon next to + in that list when there are three or more.
- Use the Scale tool to make the model bigger or smaller: drag the handles, or type the same multiplier into the X, Y, and Z fields (1.00 means no change). Stop when Dimensions shows the product’s measurements.
- Click Save changes. The editor doesn’t save automatically.
If you add color variants to a model in this editor, they all share its size. Resize one and you resize them all, including on your site if the model is already live.
More on size and variants in our help center →
Place the model in your own room in AR
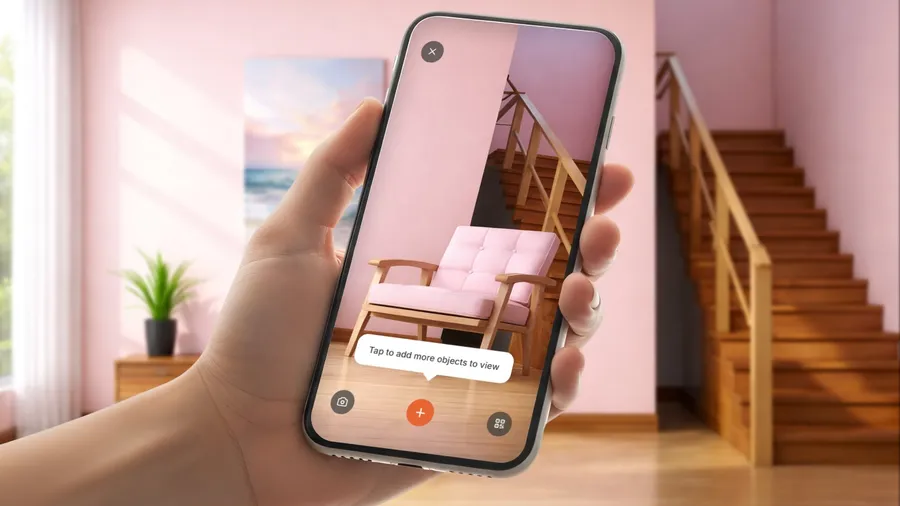
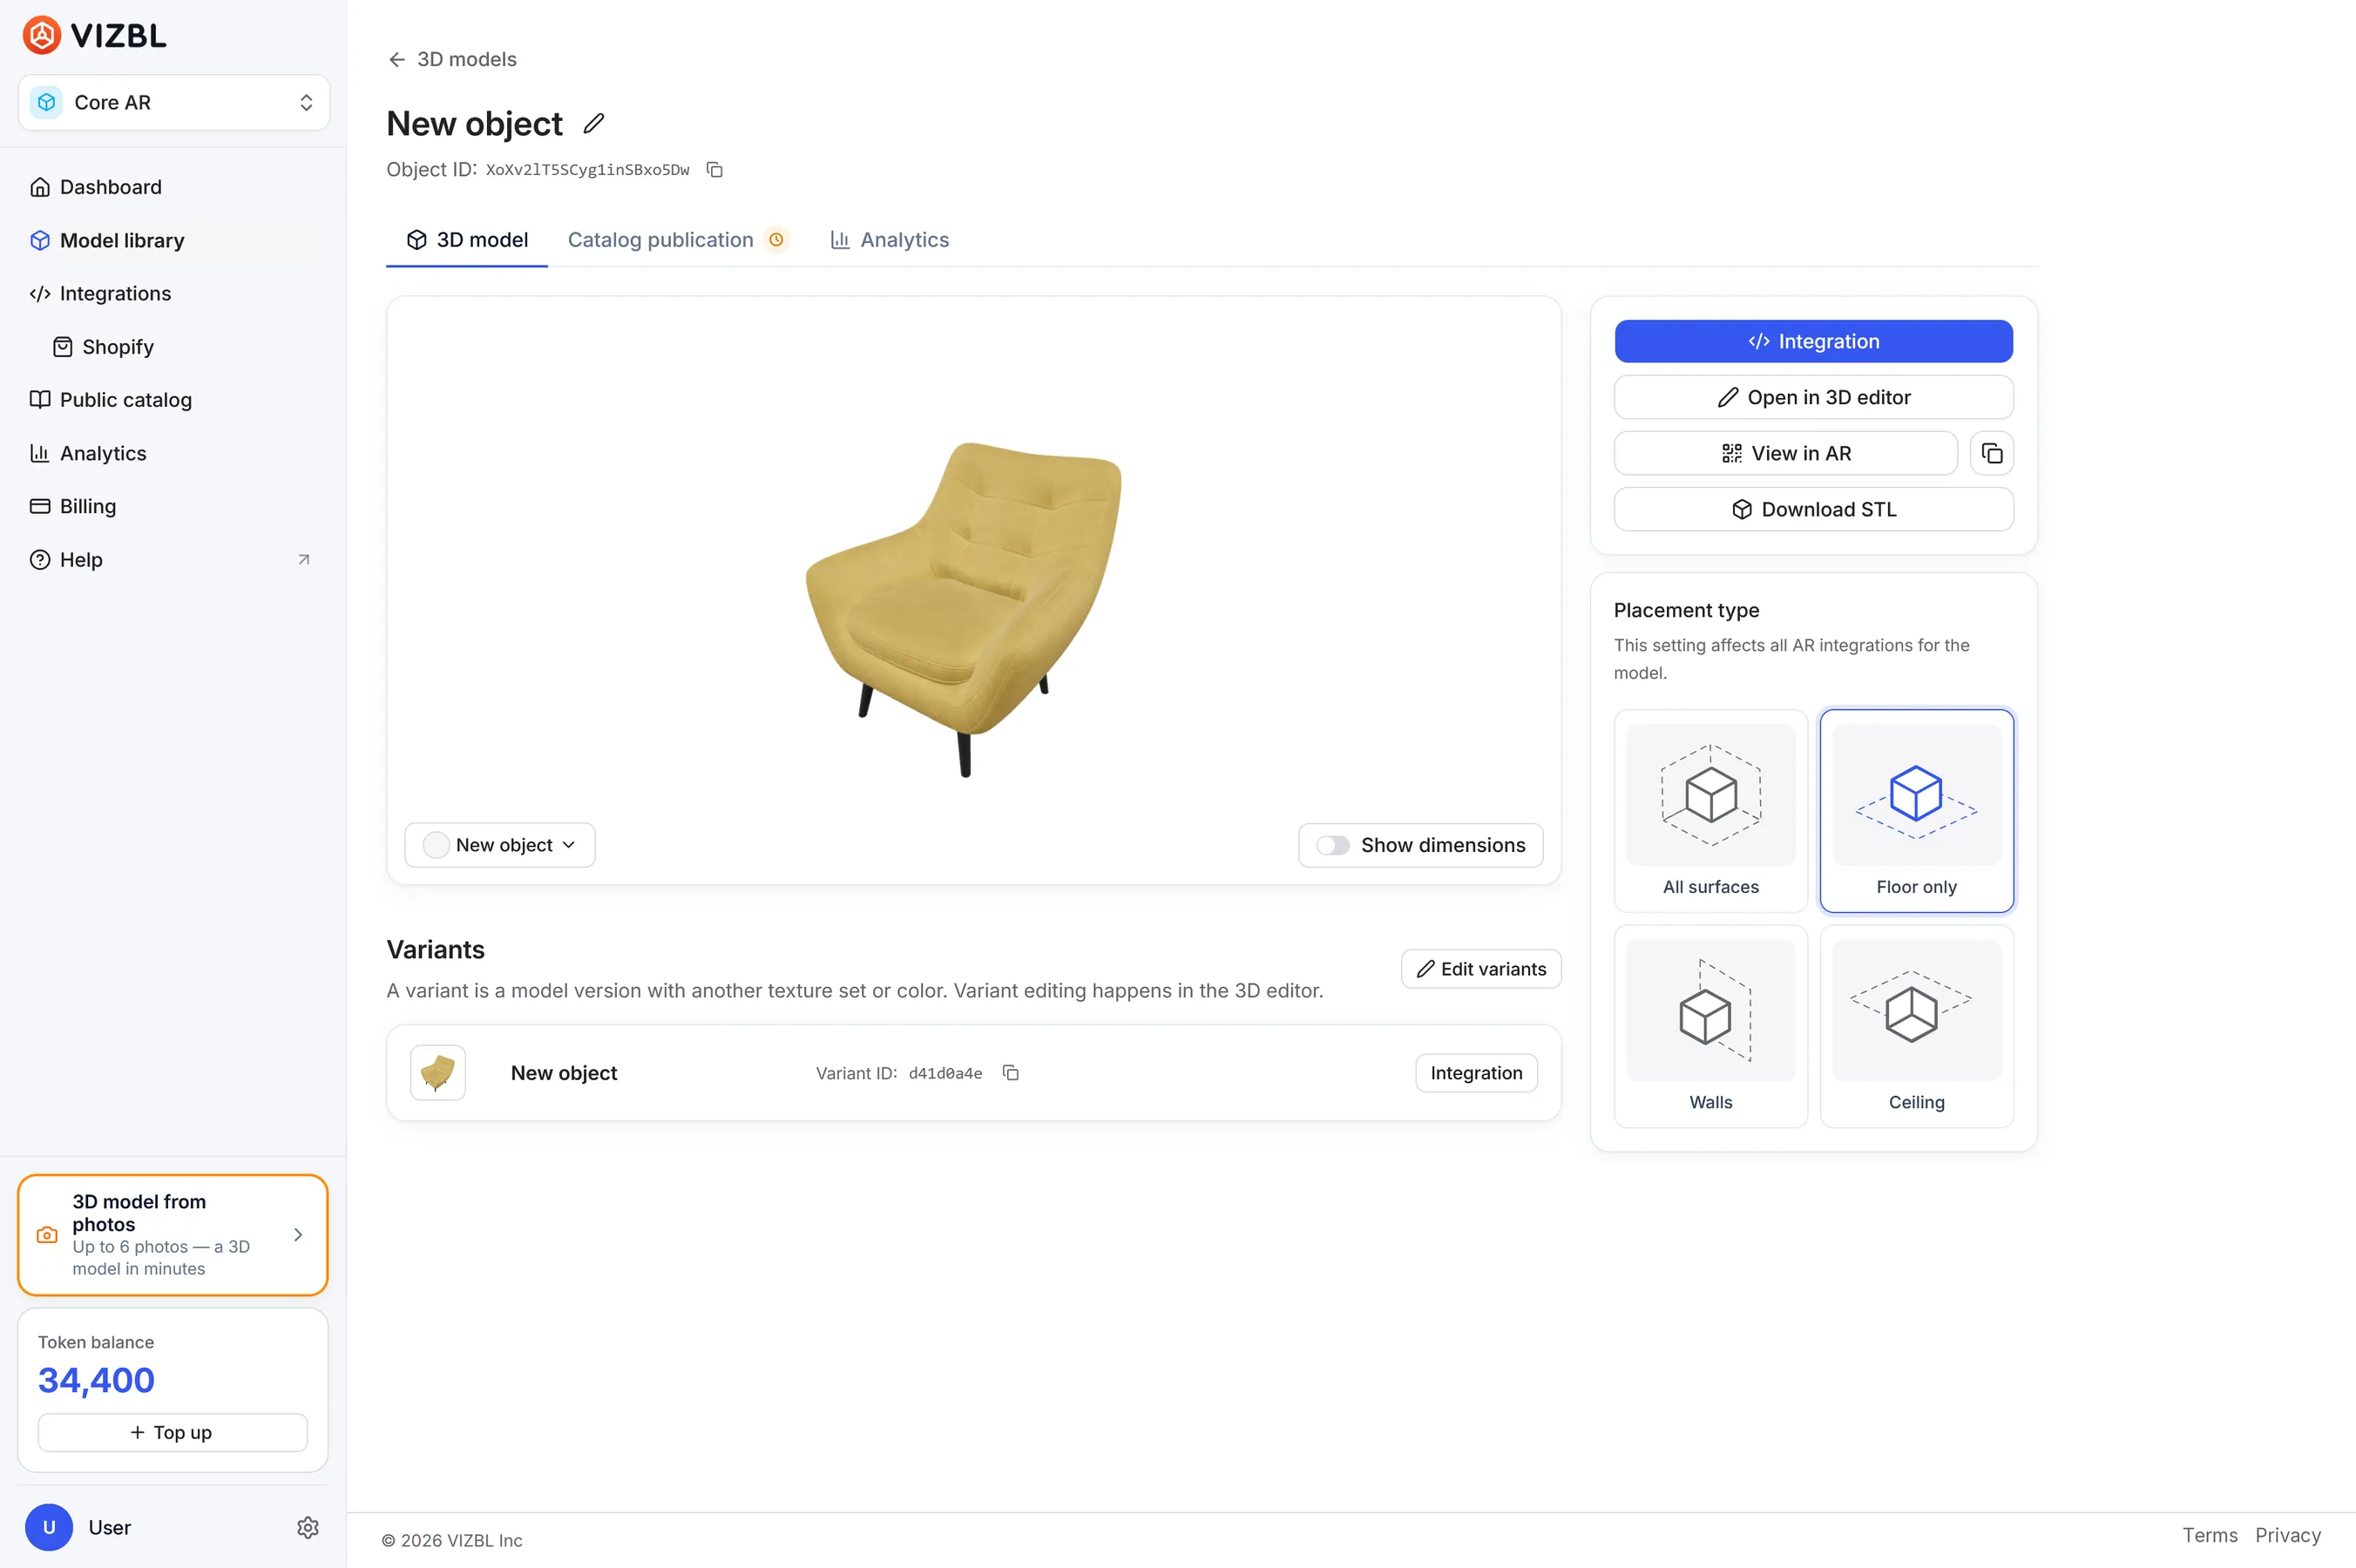
Before shoppers see the model, check it in AR yourself. On the model’s page in Core AR, click View in AR and scan the QR code, or copy the AR link and open it on your phone. Place the armchair next to furniture whose size you know, and see whether it looks like the product and is the right size. If the armchair doesn’t stand on the floor, set Placement type on the model’s page to Floor only.
Go back to the 3D editor and fix the size if it’s off. If the shape doesn’t look like the product, reshoot the photos following the tips in our guide to photographing products for a 3D model generator and generate the model again.
Compare your model with the ones below. We generated them from product photos with our photo to 3D model generator and didn’t edit them at all.
Link the 3D model to your Shopify product
- In Core AR, go to Integrations → Shopify.
- In the product list, click Link variant next to the armchair. If the product has several variants, the button says Link to all, and the model is linked to all of them at once.
- Choose the model and click Select.
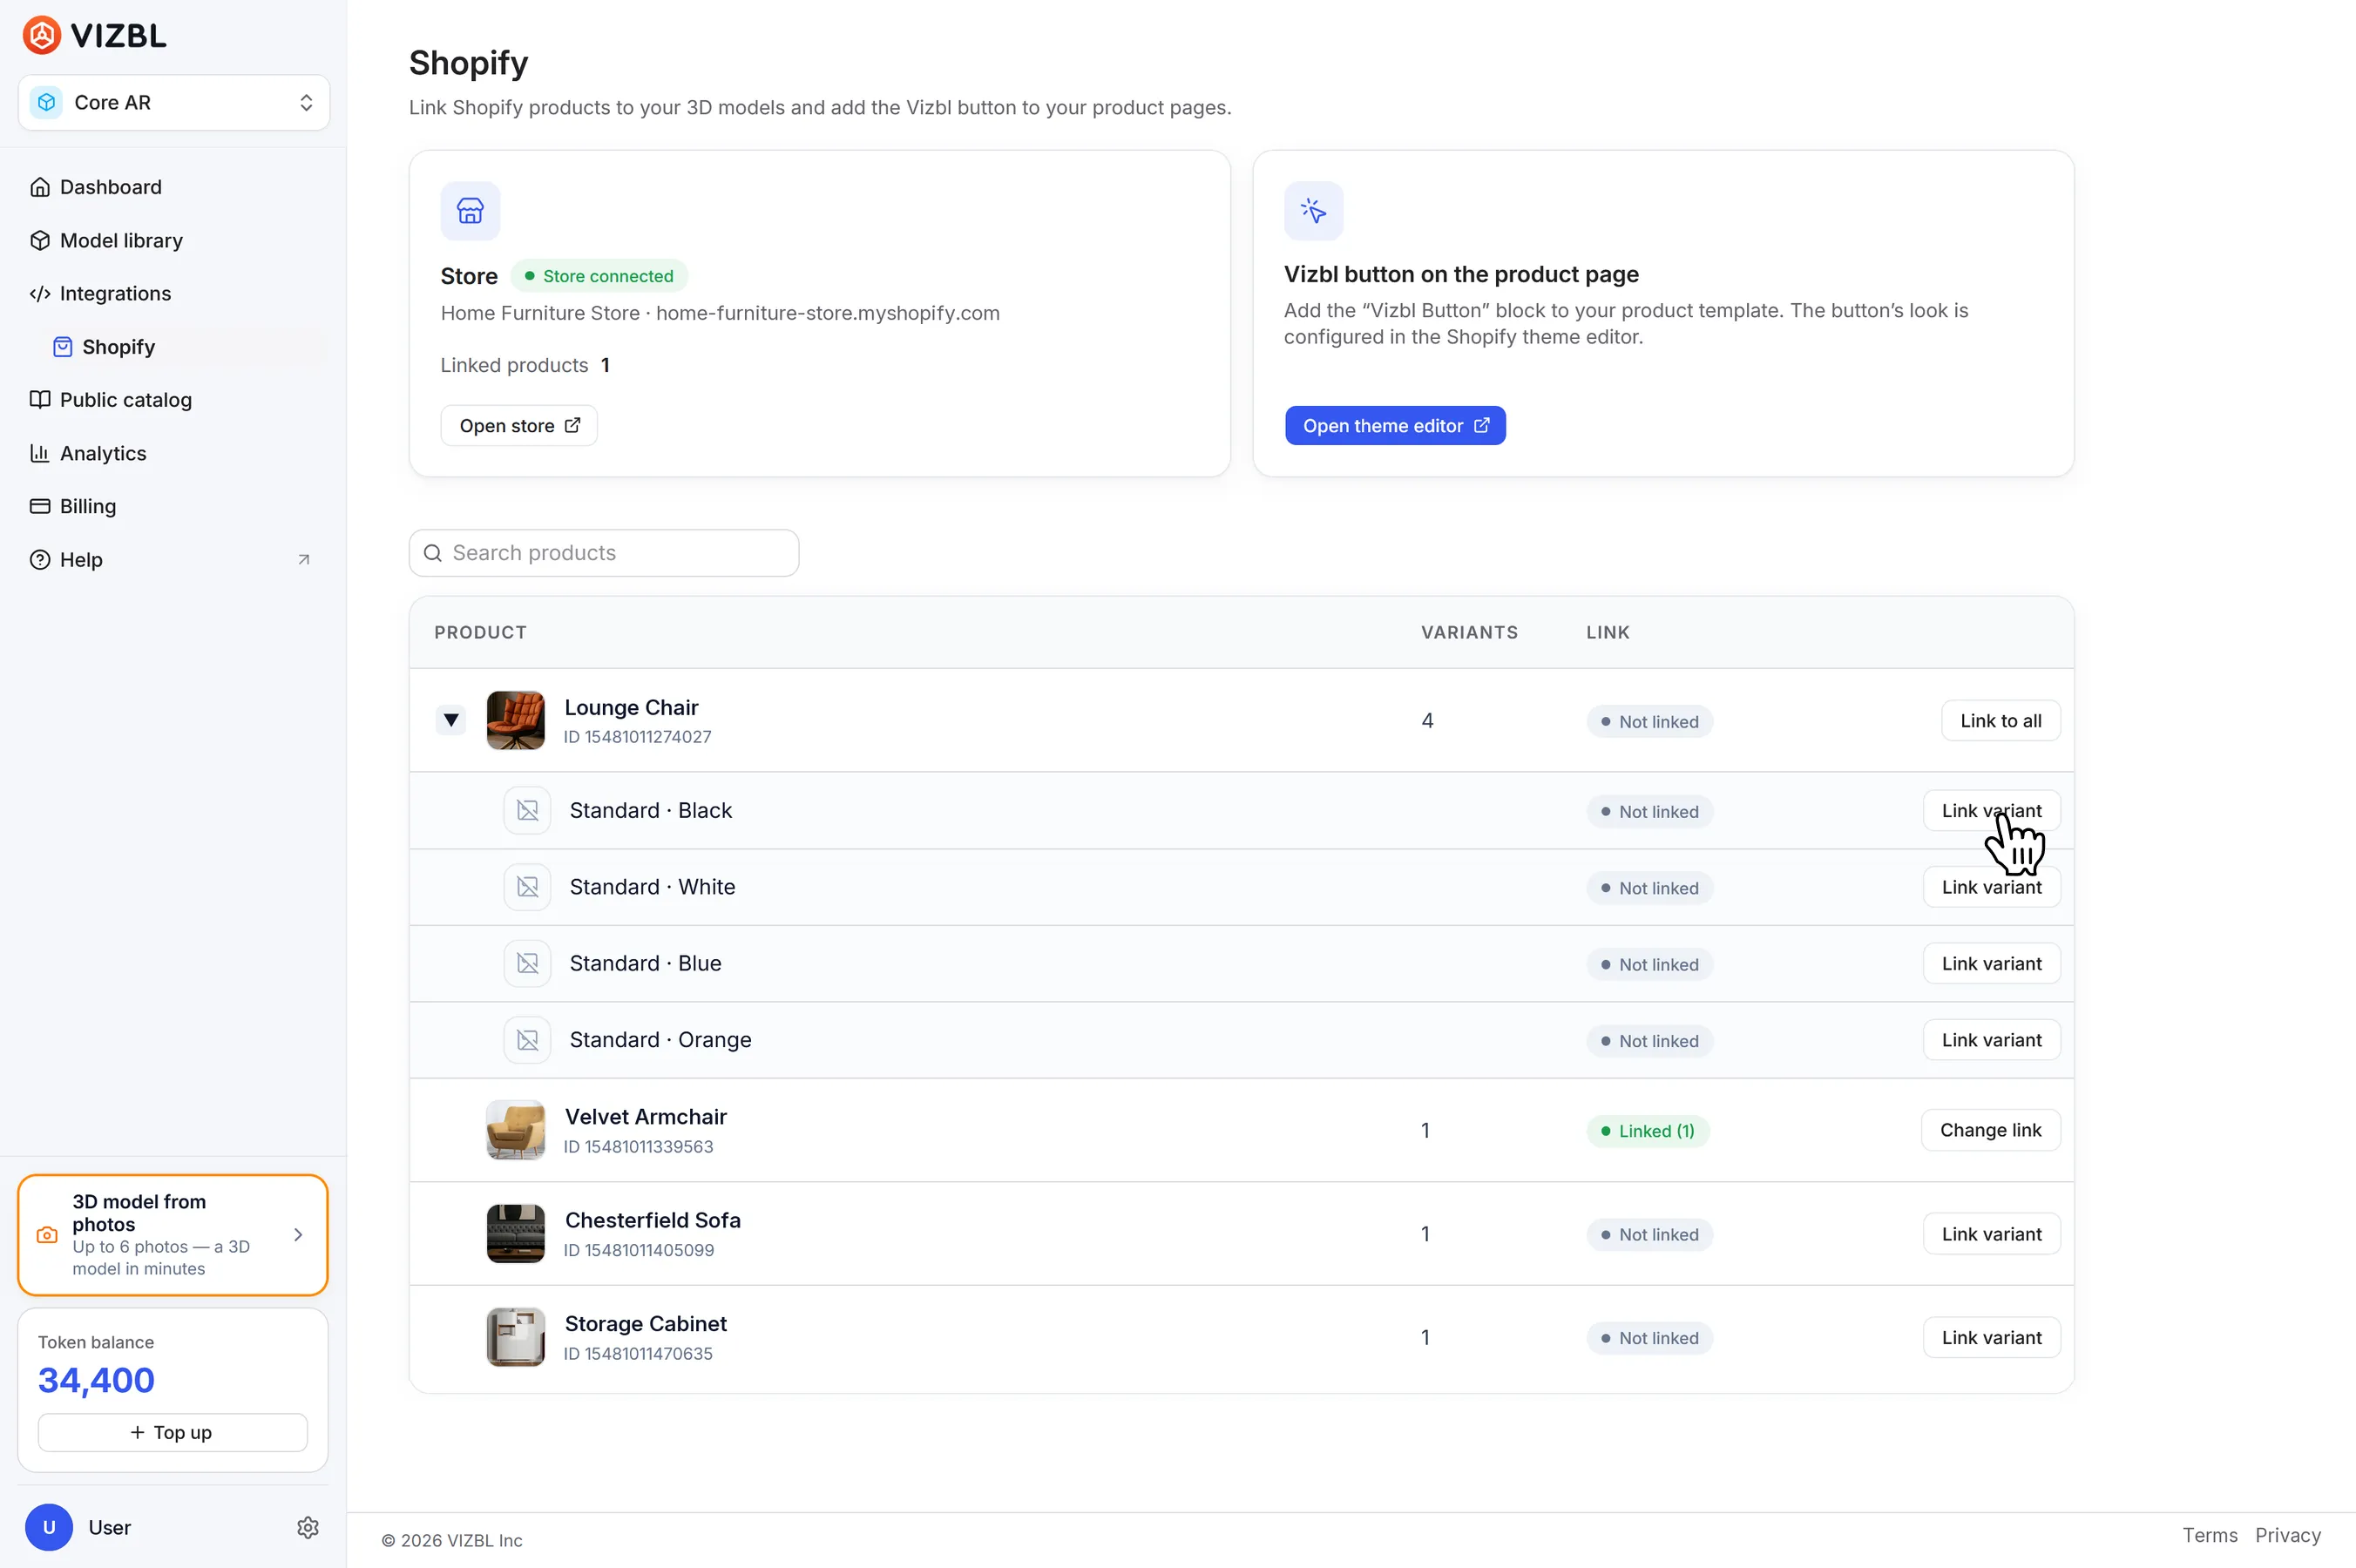
To link the colors separately, expand the armchair with the arrow on its left and click Link variant next to each one. Then choose the model you generated for that color. If you added the colors as variants of one model instead, choose that model and pick the matching color from its variants.
Linking products to models in our help center →
Now see what your shoppers will see: open the armchair’s product page on your phone, tap the AR button, and place the armchair in your room. If there’s no button, make sure the Vizbl Button block is in your product page template.
If the button is there but AR won’t open, your store’s domain probably isn’t on your list of allowed domains. Core AR Analytics marks requests from domains that aren’t on the list as blocked, so if you see blocked requests there, check the list.
If your store isn’t on Shopify
On another platform or your own site, you embed the model with code from Core AR. The code has two parts:
- a script in the
<head>, added once for the whole site; - a model element on each product page.
As with Shopify, add your site’s domain to the list of allowed domains in your Core AR settings, or the code won’t work there.
How to add Core AR to your website →
Once the button is live, check your analytics and token balance
Open Analytics in Core AR to see how many views and AR launches each model gets. To compare models, use the AR conversion rate column (AR launches divided by views) in the Top models table. It tells you which products shoppers open in AR more often, but nothing about sales.
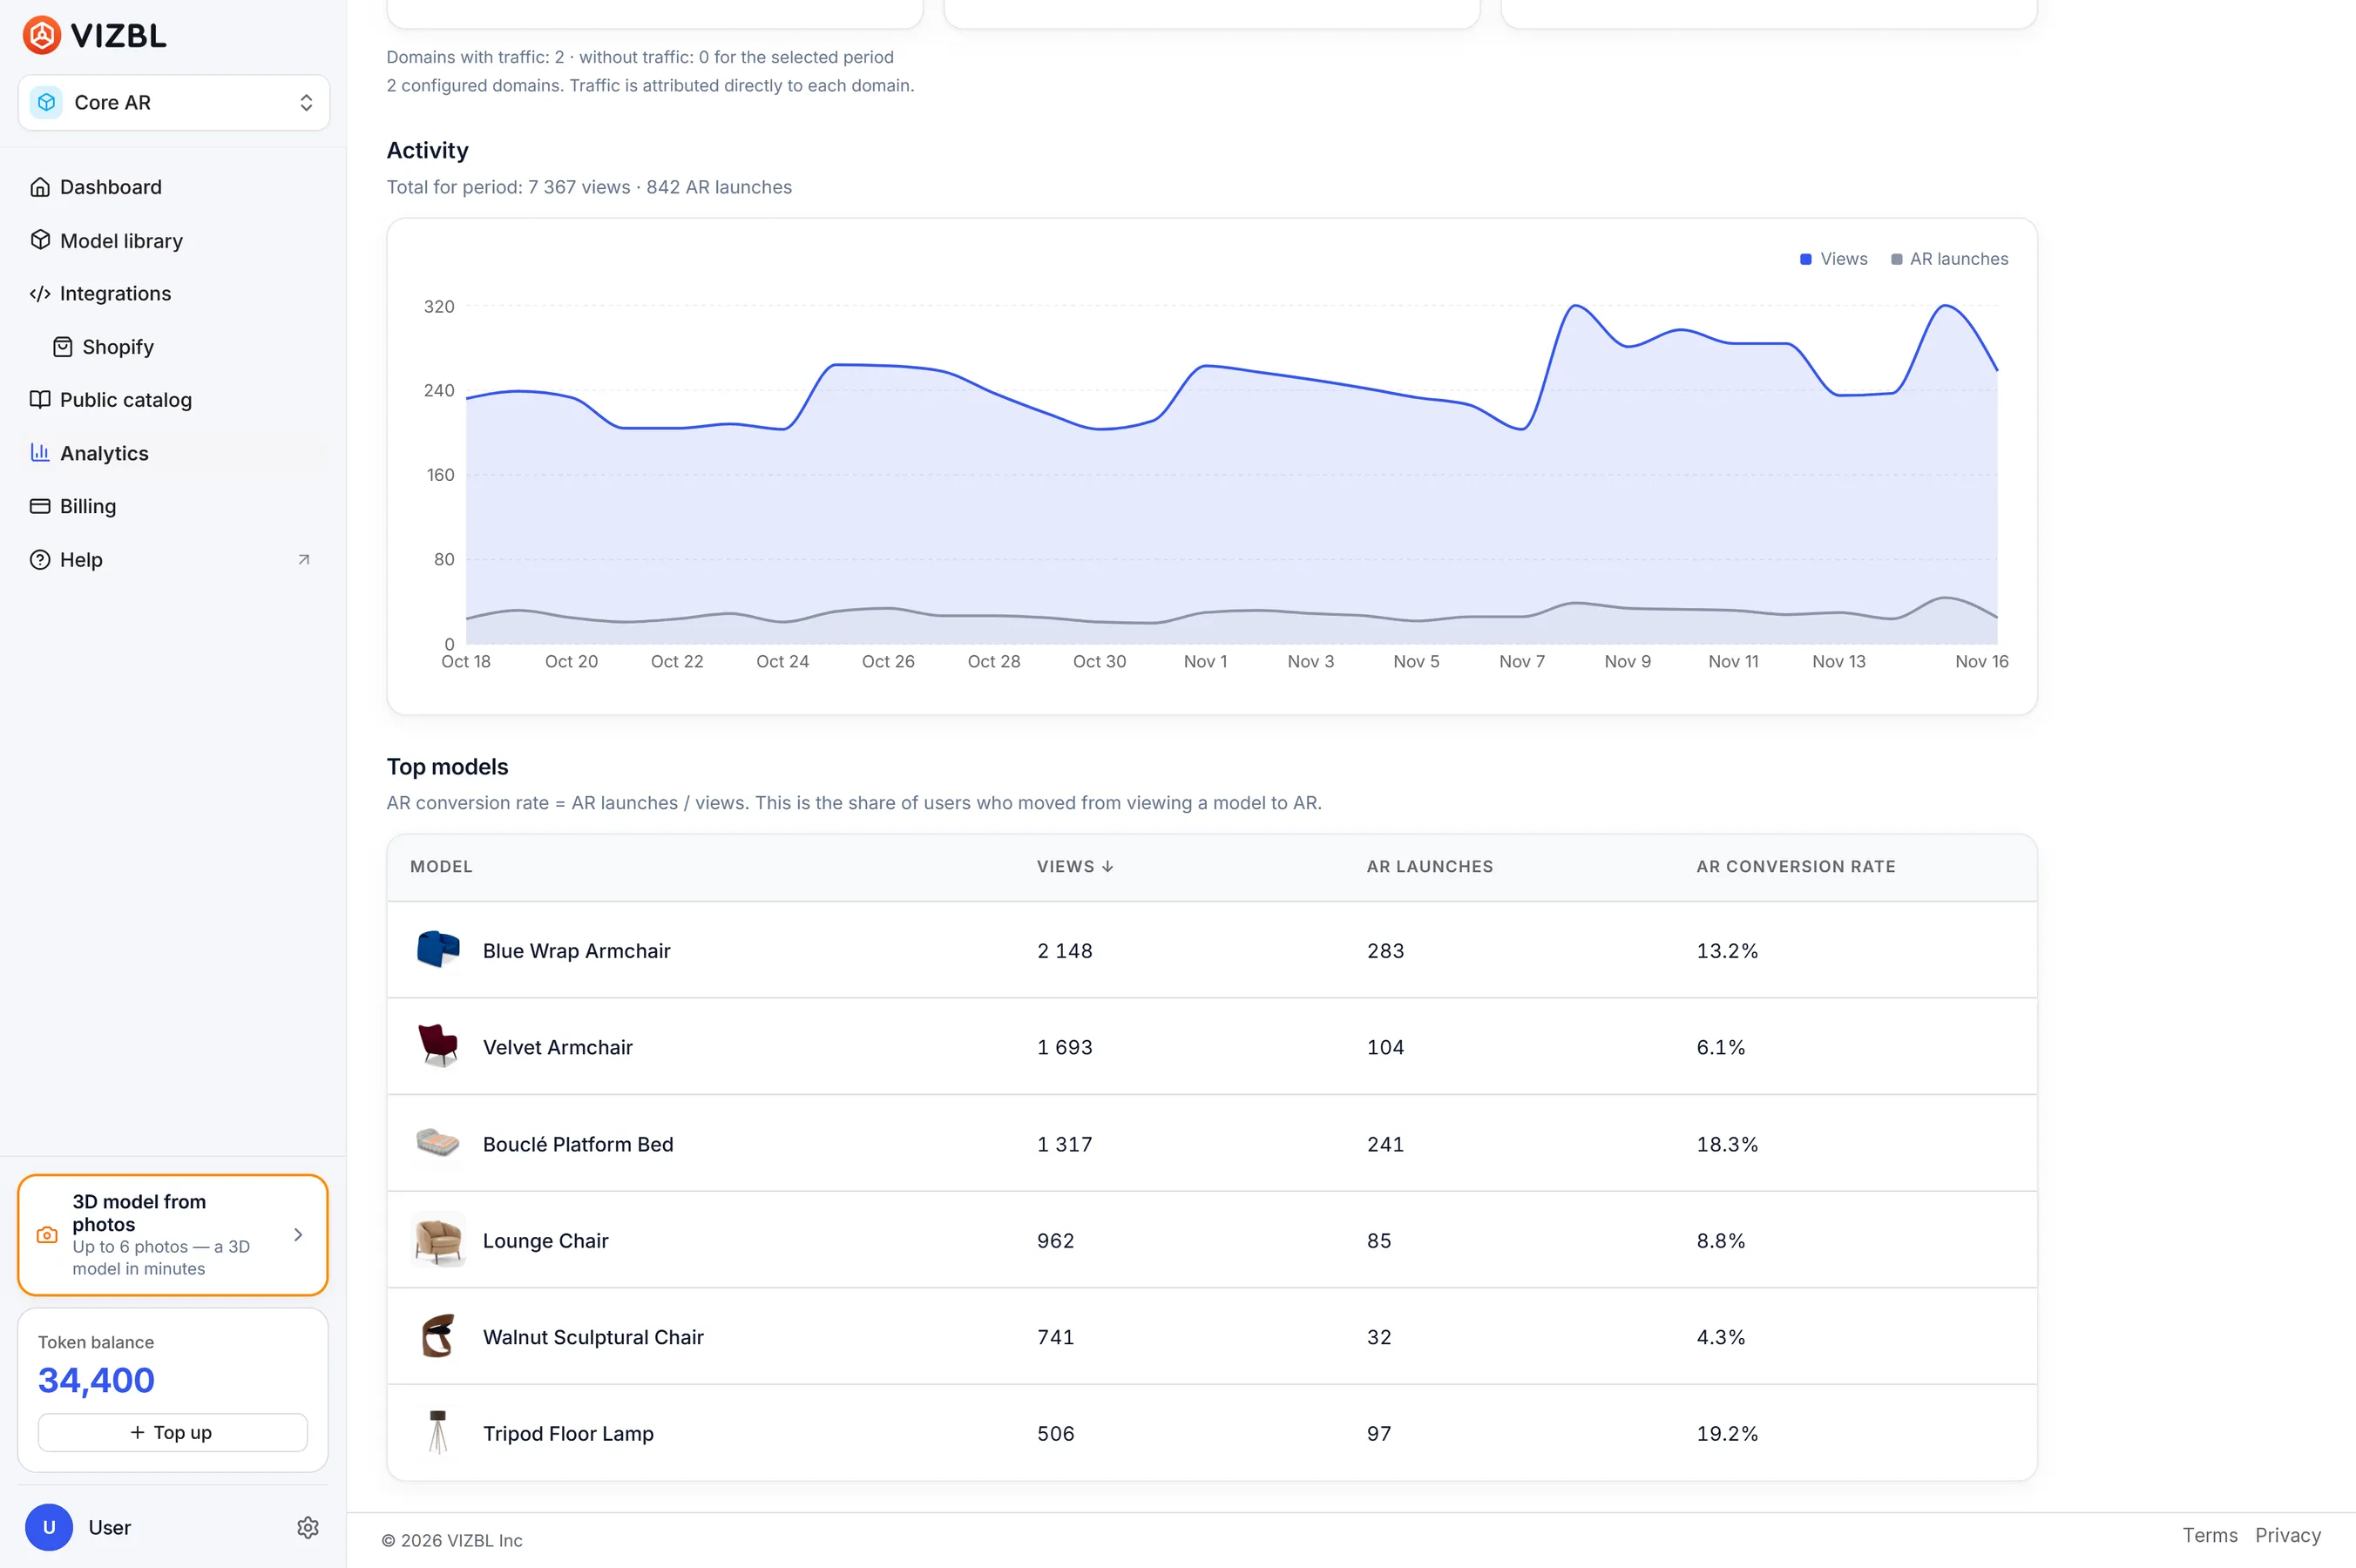
3D views are free, and each AR launch takes tokens from your balance. Unused tokens don’t expire, but if there aren’t enough left, AR won’t launch for your shoppers. Keep an eye on your balance.
Add 3D and AR to the rest of your catalog
For your next models, pick the kinds of products that come out well in 3D: rigid, with a clear shape and a matte or slightly textured surface. If the AI gets a product’s shape wrong, have a 3D artist model it instead. Our article on where to get 3D models for your catalog explains how to decide which products to generate and which to order.
Go one product at a time, starting with those that already have photos from different sides. In one sitting, you’ll check a product’s model in AR and put the button on its page.