
Uploading a 3D model to Core AR
Learn how to upload a 3D model to Core AR, configure its settings, and manage your model library.
Don’t have a 3D model yet? You can order one from us or build your own following our requirements and recommendations.
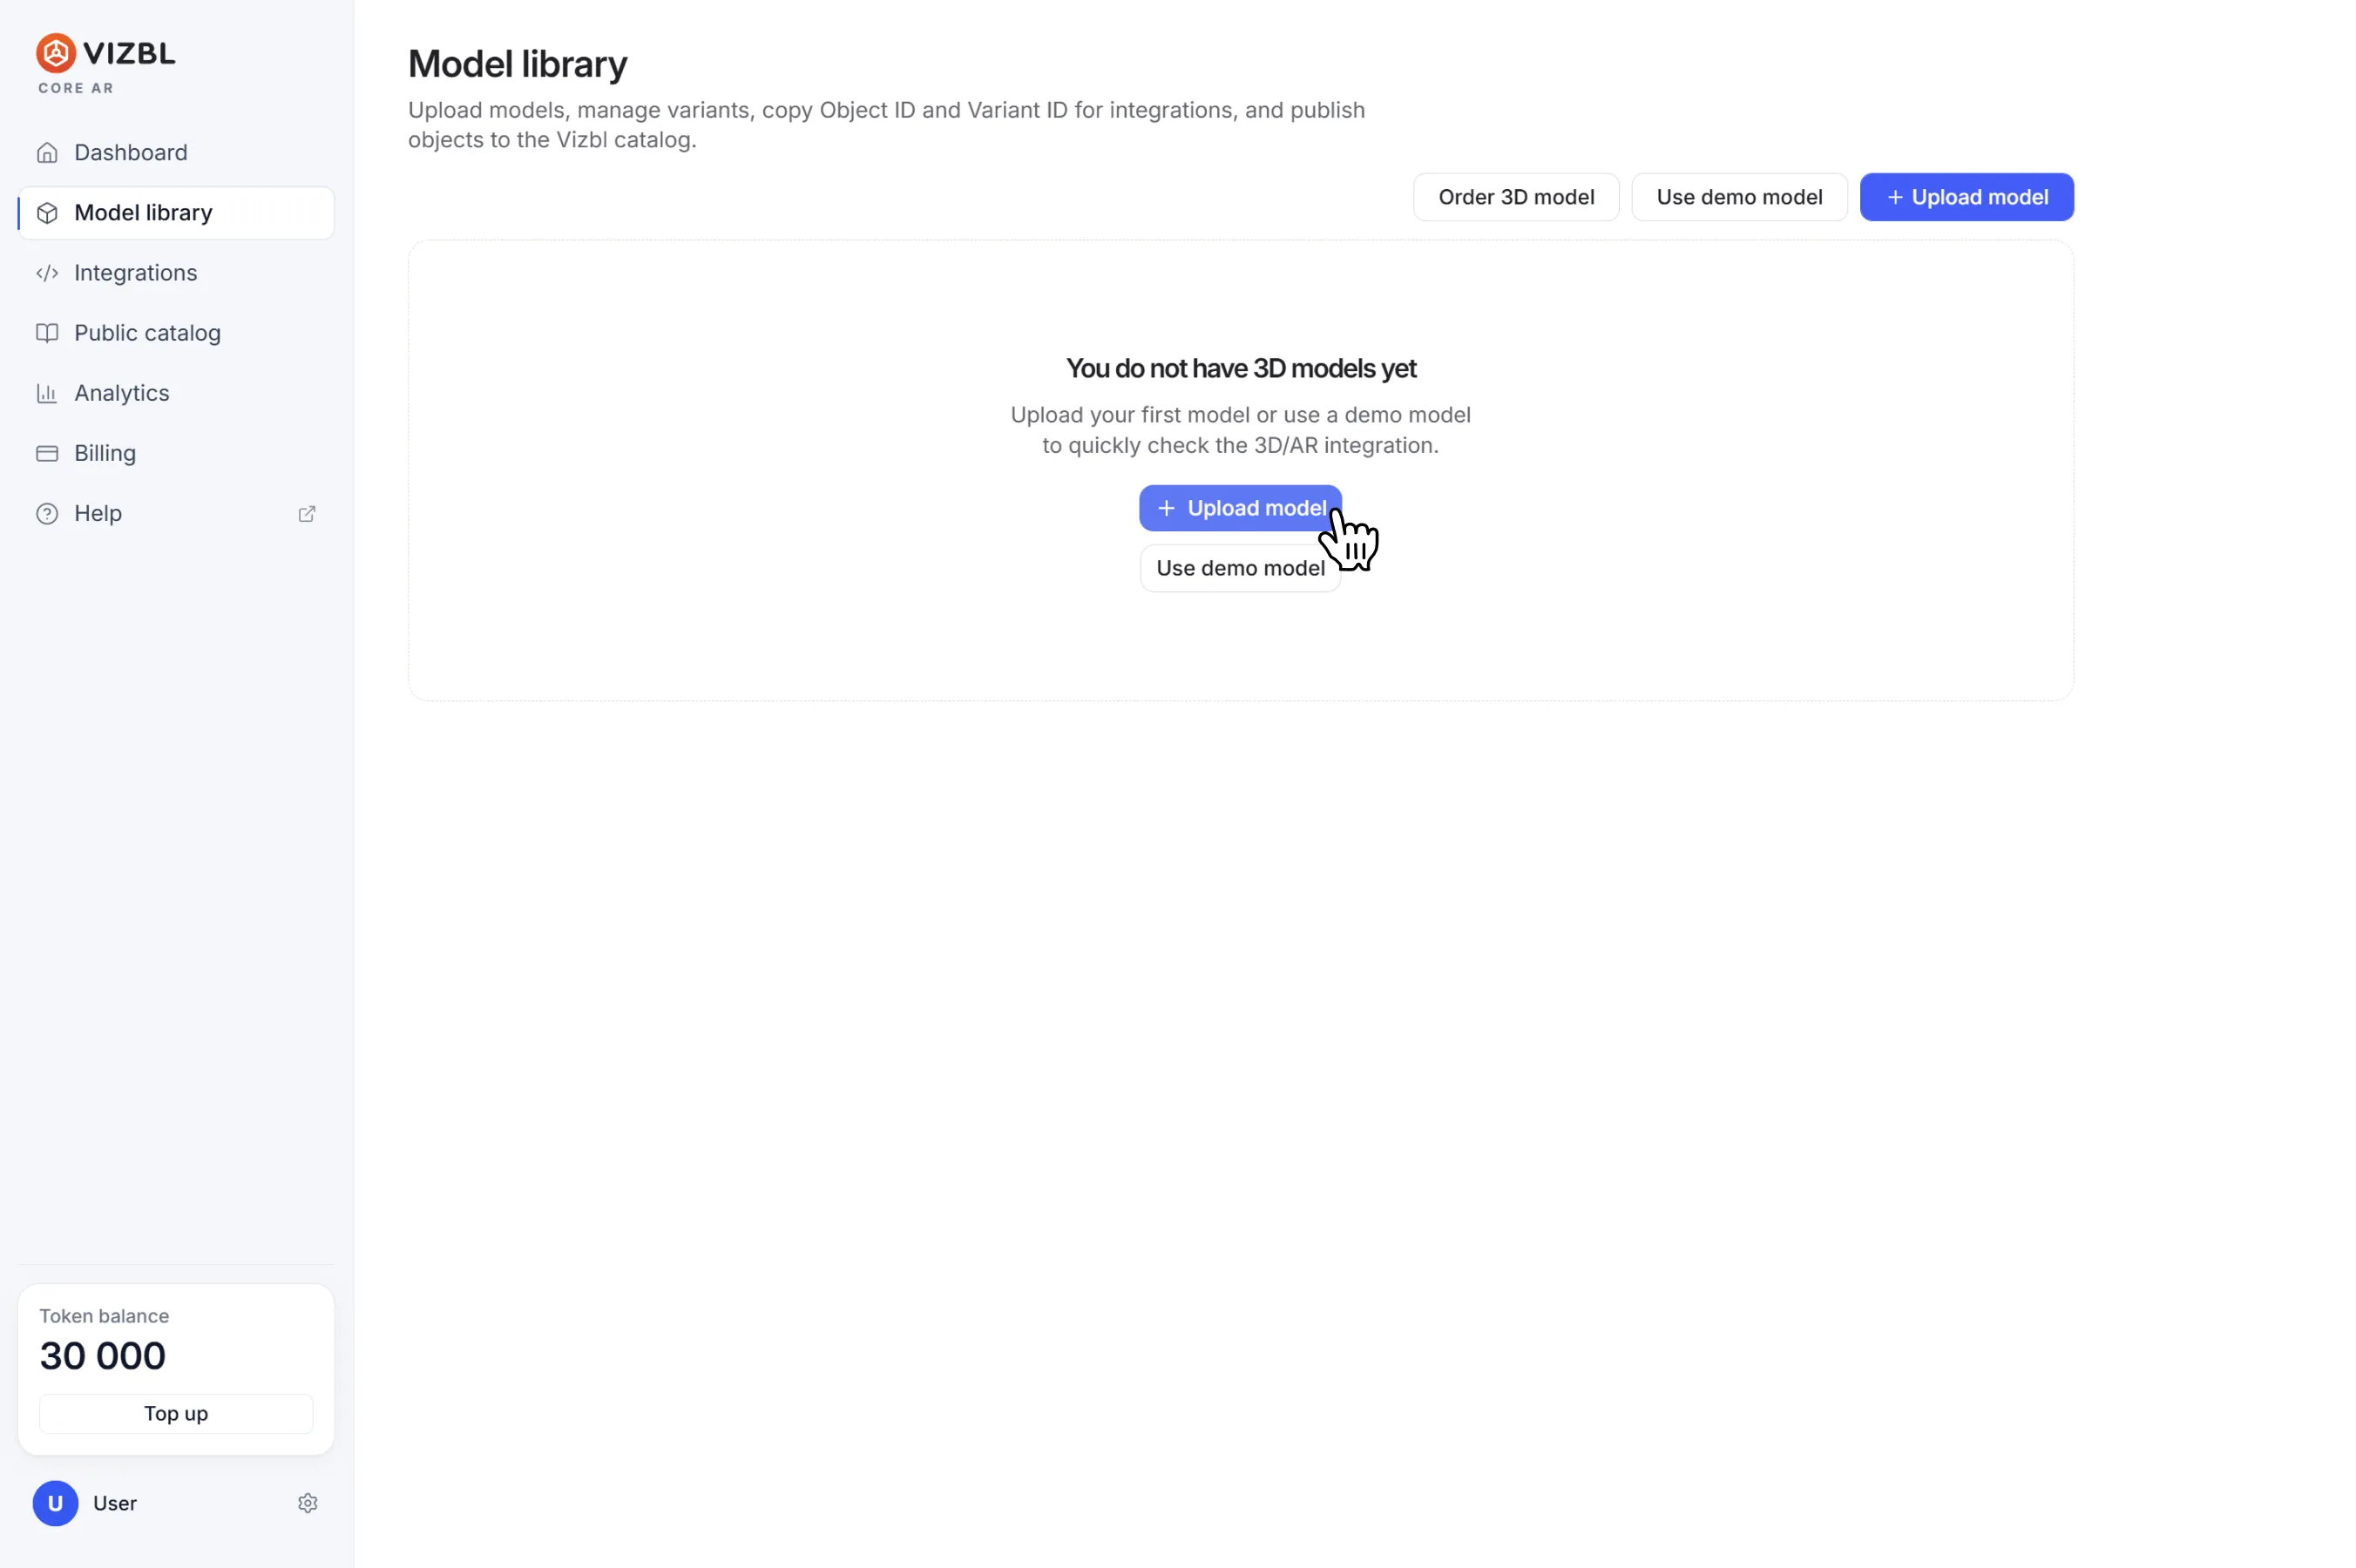
1. Open your Core AR dashboard and go to the Model Library tab.
2. Click Upload model, give it a name, and drag your file into the window — or browse to it manually.
Supported formats: .fbx, .glb, .gltf, .obj, .usdz
3. Review the model in the preview window and check the automatic validation results in the checklist below. You can also choose whether to publish it to the Vizbl catalog from this screen.
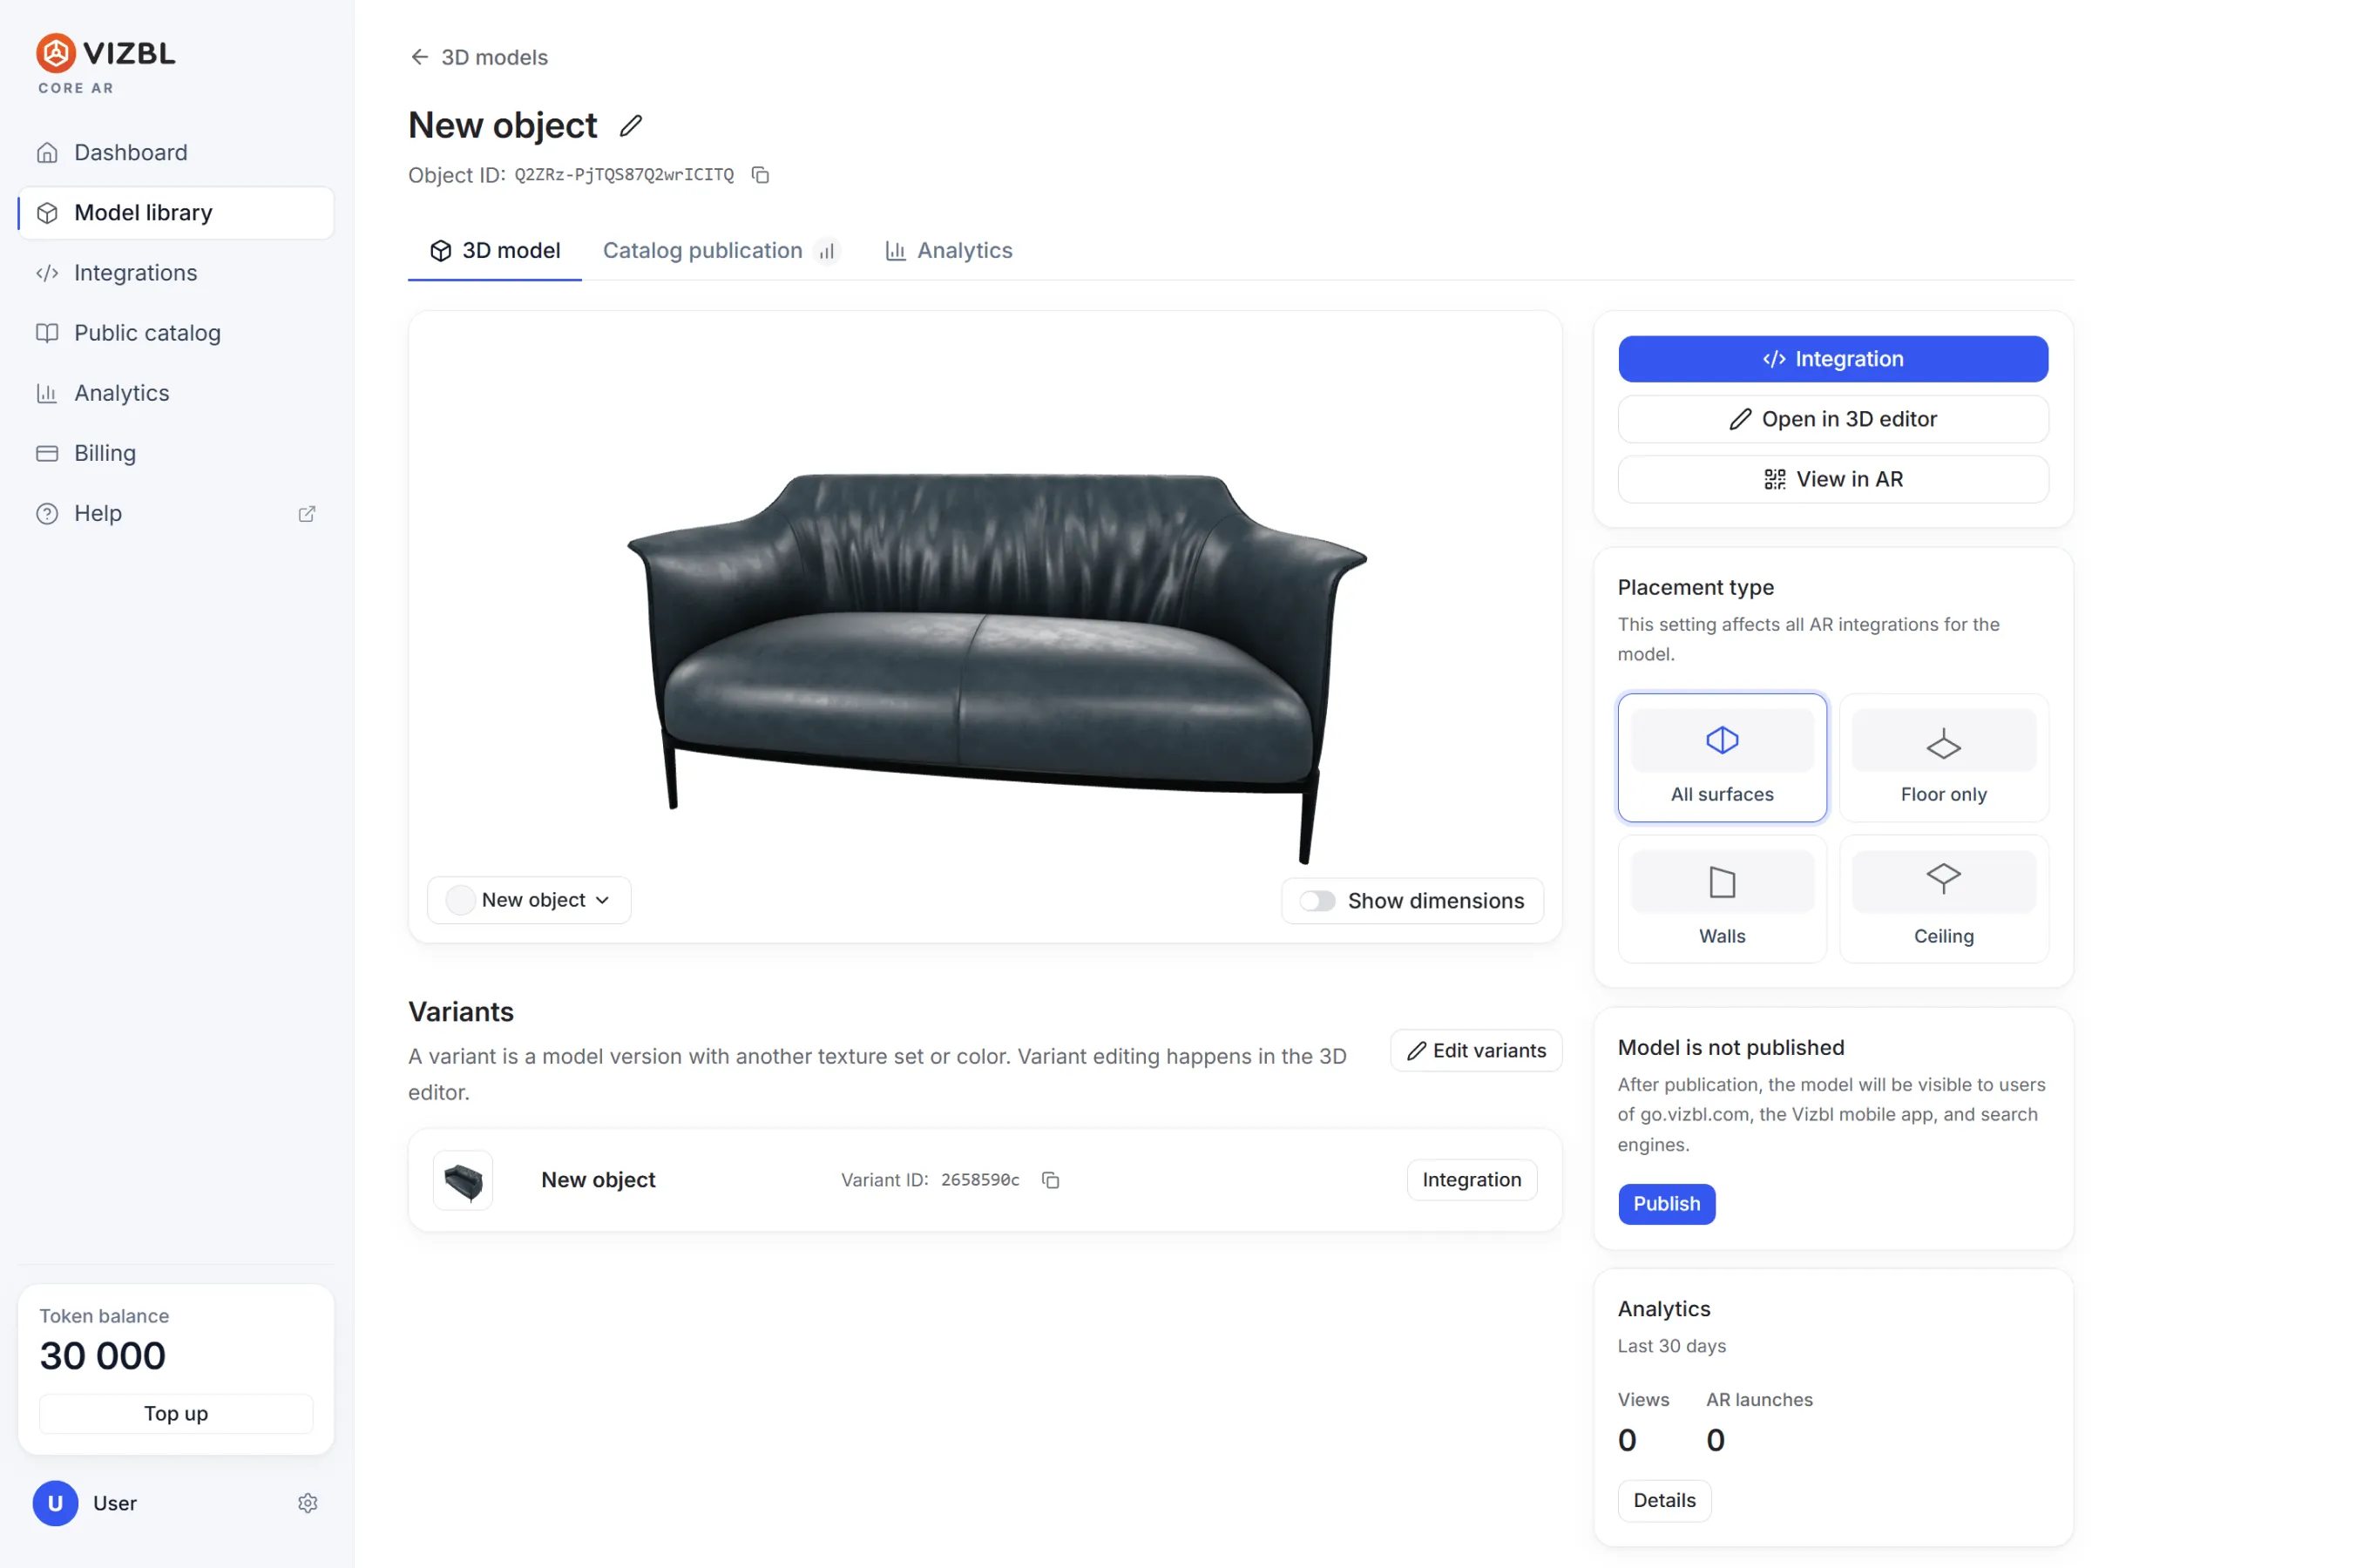
4. Once uploaded, the model settings screen opens:
- Integration — choose how to embed the model on your site. See the guide on adding a Vizbl integration to your website.
- 3D editor — tweak the model’s color or geometry. See the 3D editor guide.
- View in AR — generates a QR code you can scan with your phone to preview the model in augmented reality.
- Placement type — set the model to float freely or snap to a floor, wall, or ceiling. Saves automatically.
- Catalog status — shows the moderation status of a model published to the Vizbl catalog.
- Analytics — views and AR preview counts for the model.
Managing models
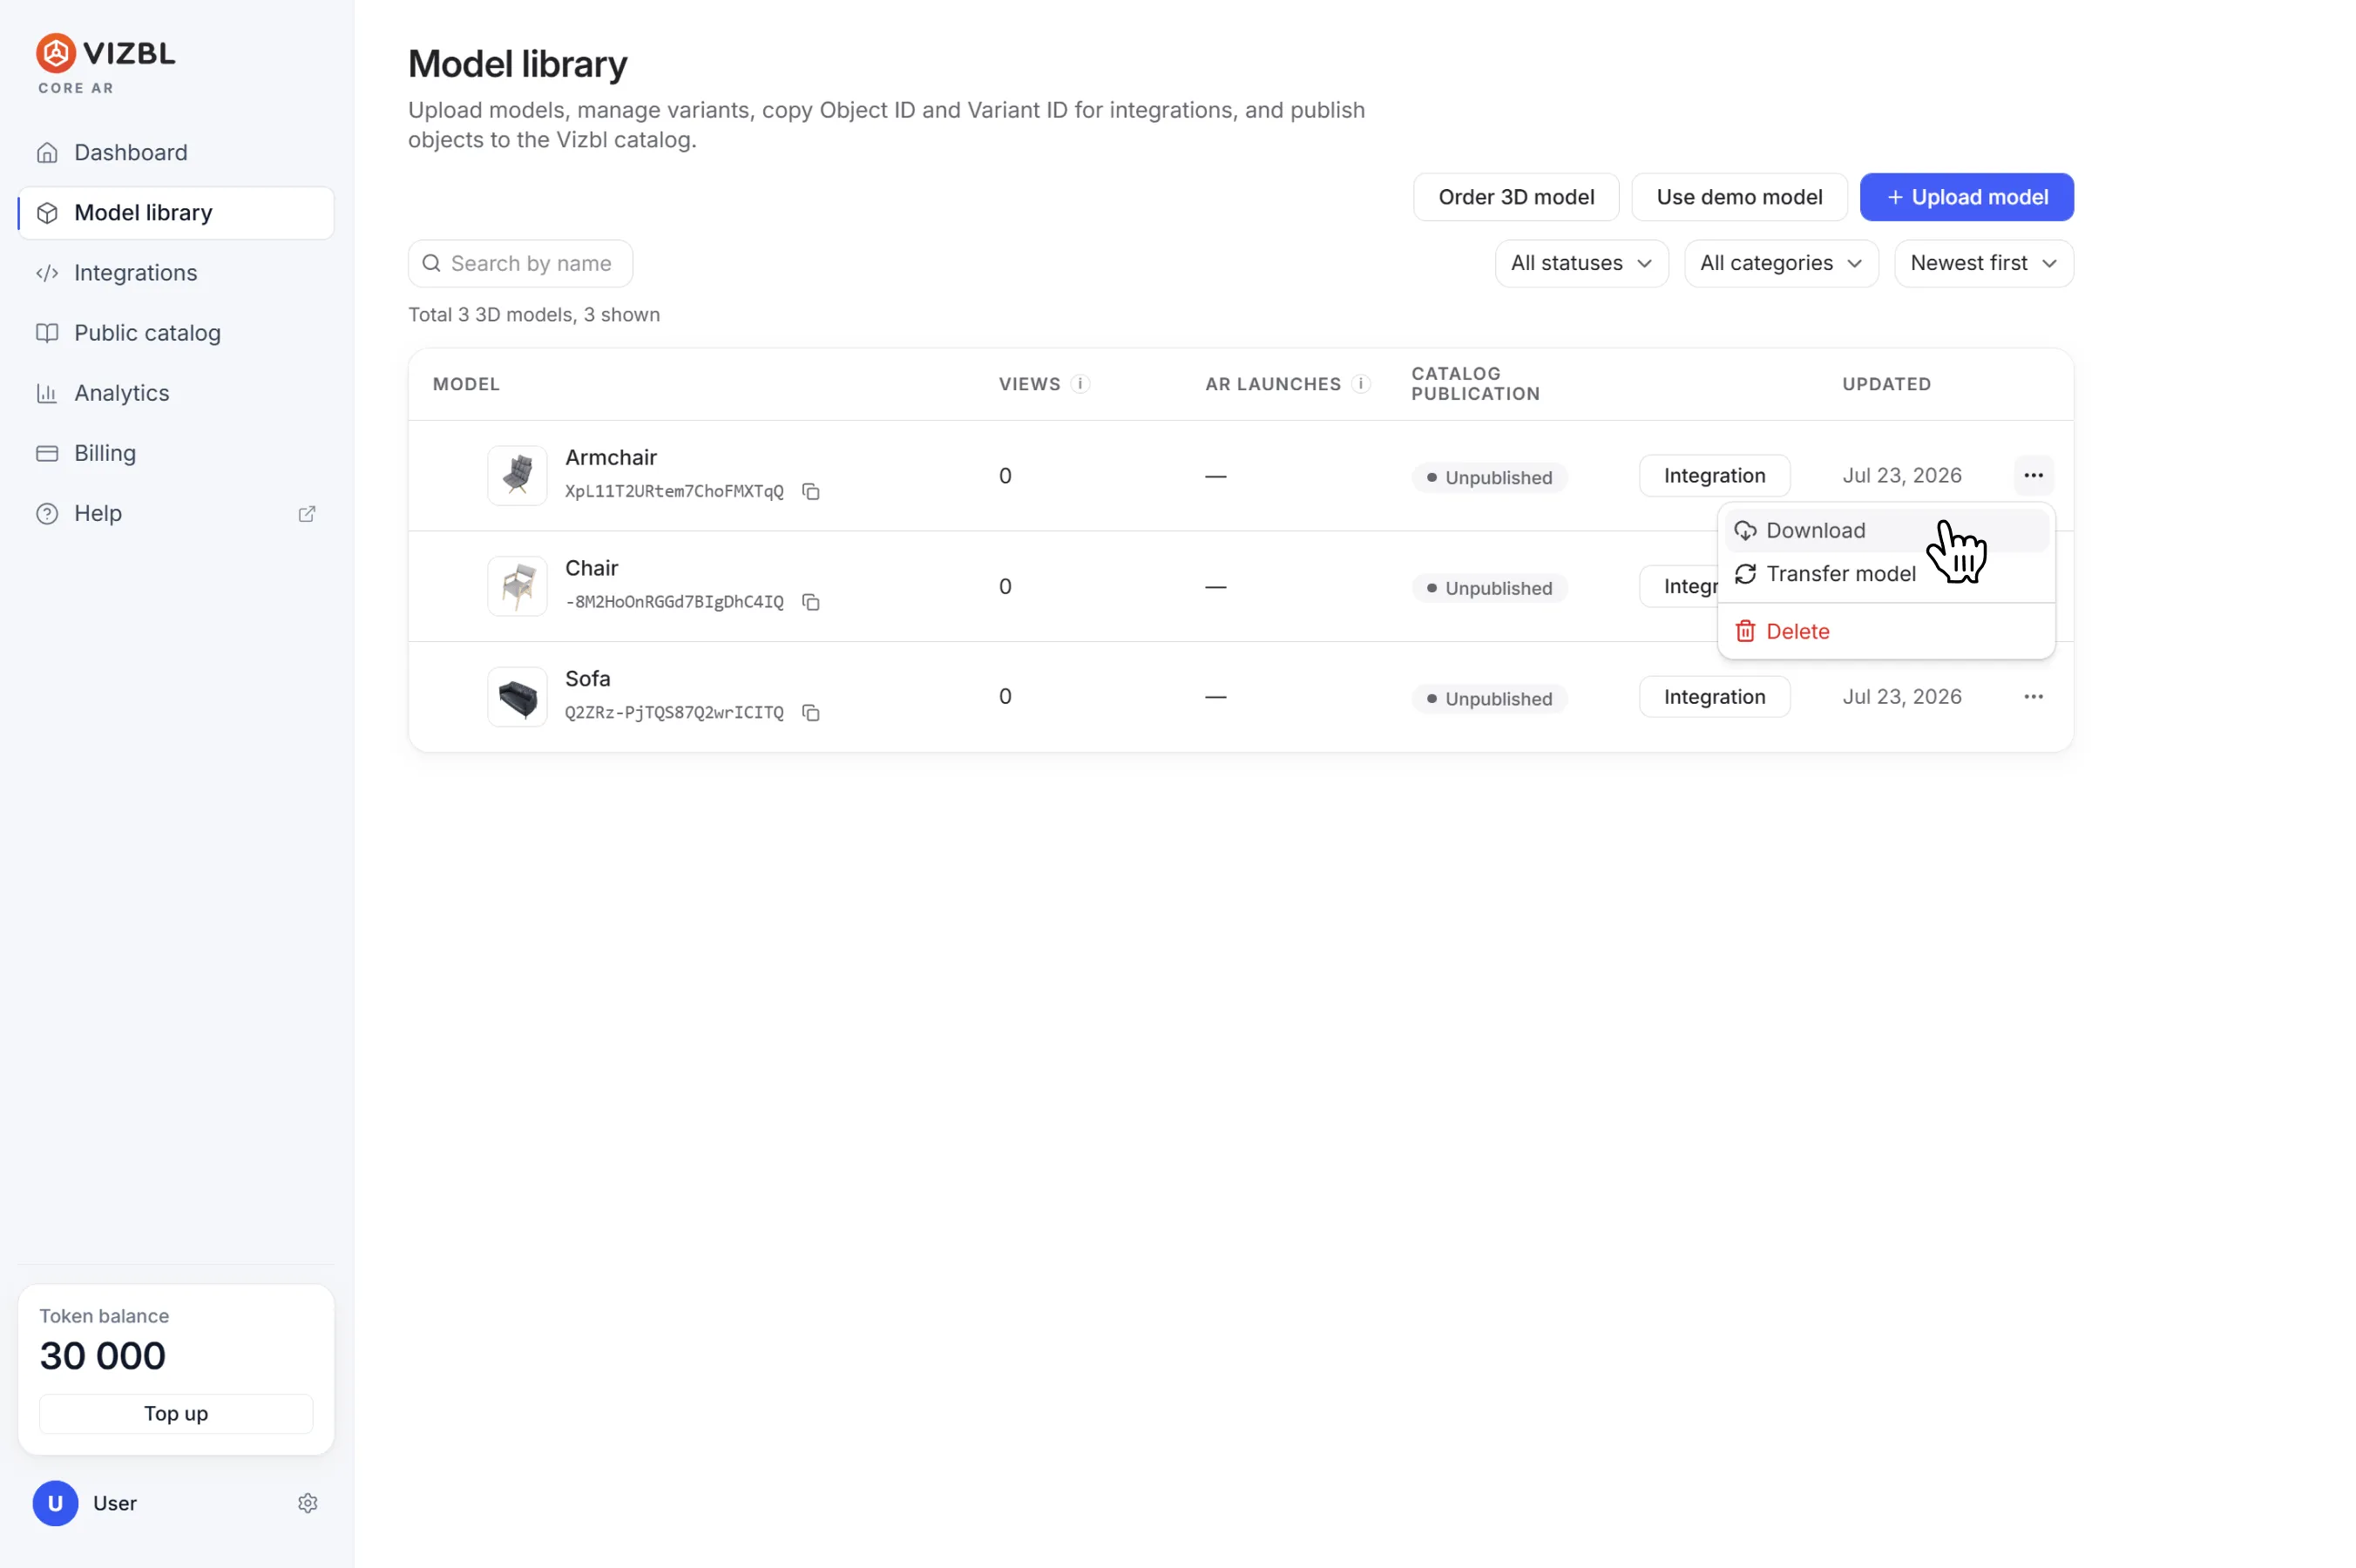
To revisit or edit any model, open the Model Library and pick it from the list. You can also configure its integration right from there.
To download or delete a model, click the three-dot menu at the end of its row.
Get help in our Discord
Join our Discord to ask questions about these instructions or get technical support. If something isn’t working, open a ticket and our team will investigate.