Learn how to create a variant, change its color, add a preview image, and save your changes.
Variants let you show different versions of the same product in AR — for example, different colors, materials, or model changes. This is useful for displaying a product range without uploading separate objects for each version.
1. Open the dashboard and go to 3D Models.
2. Click the preview image of the object you want to edit.
3. In the object page, click 3D Editor.
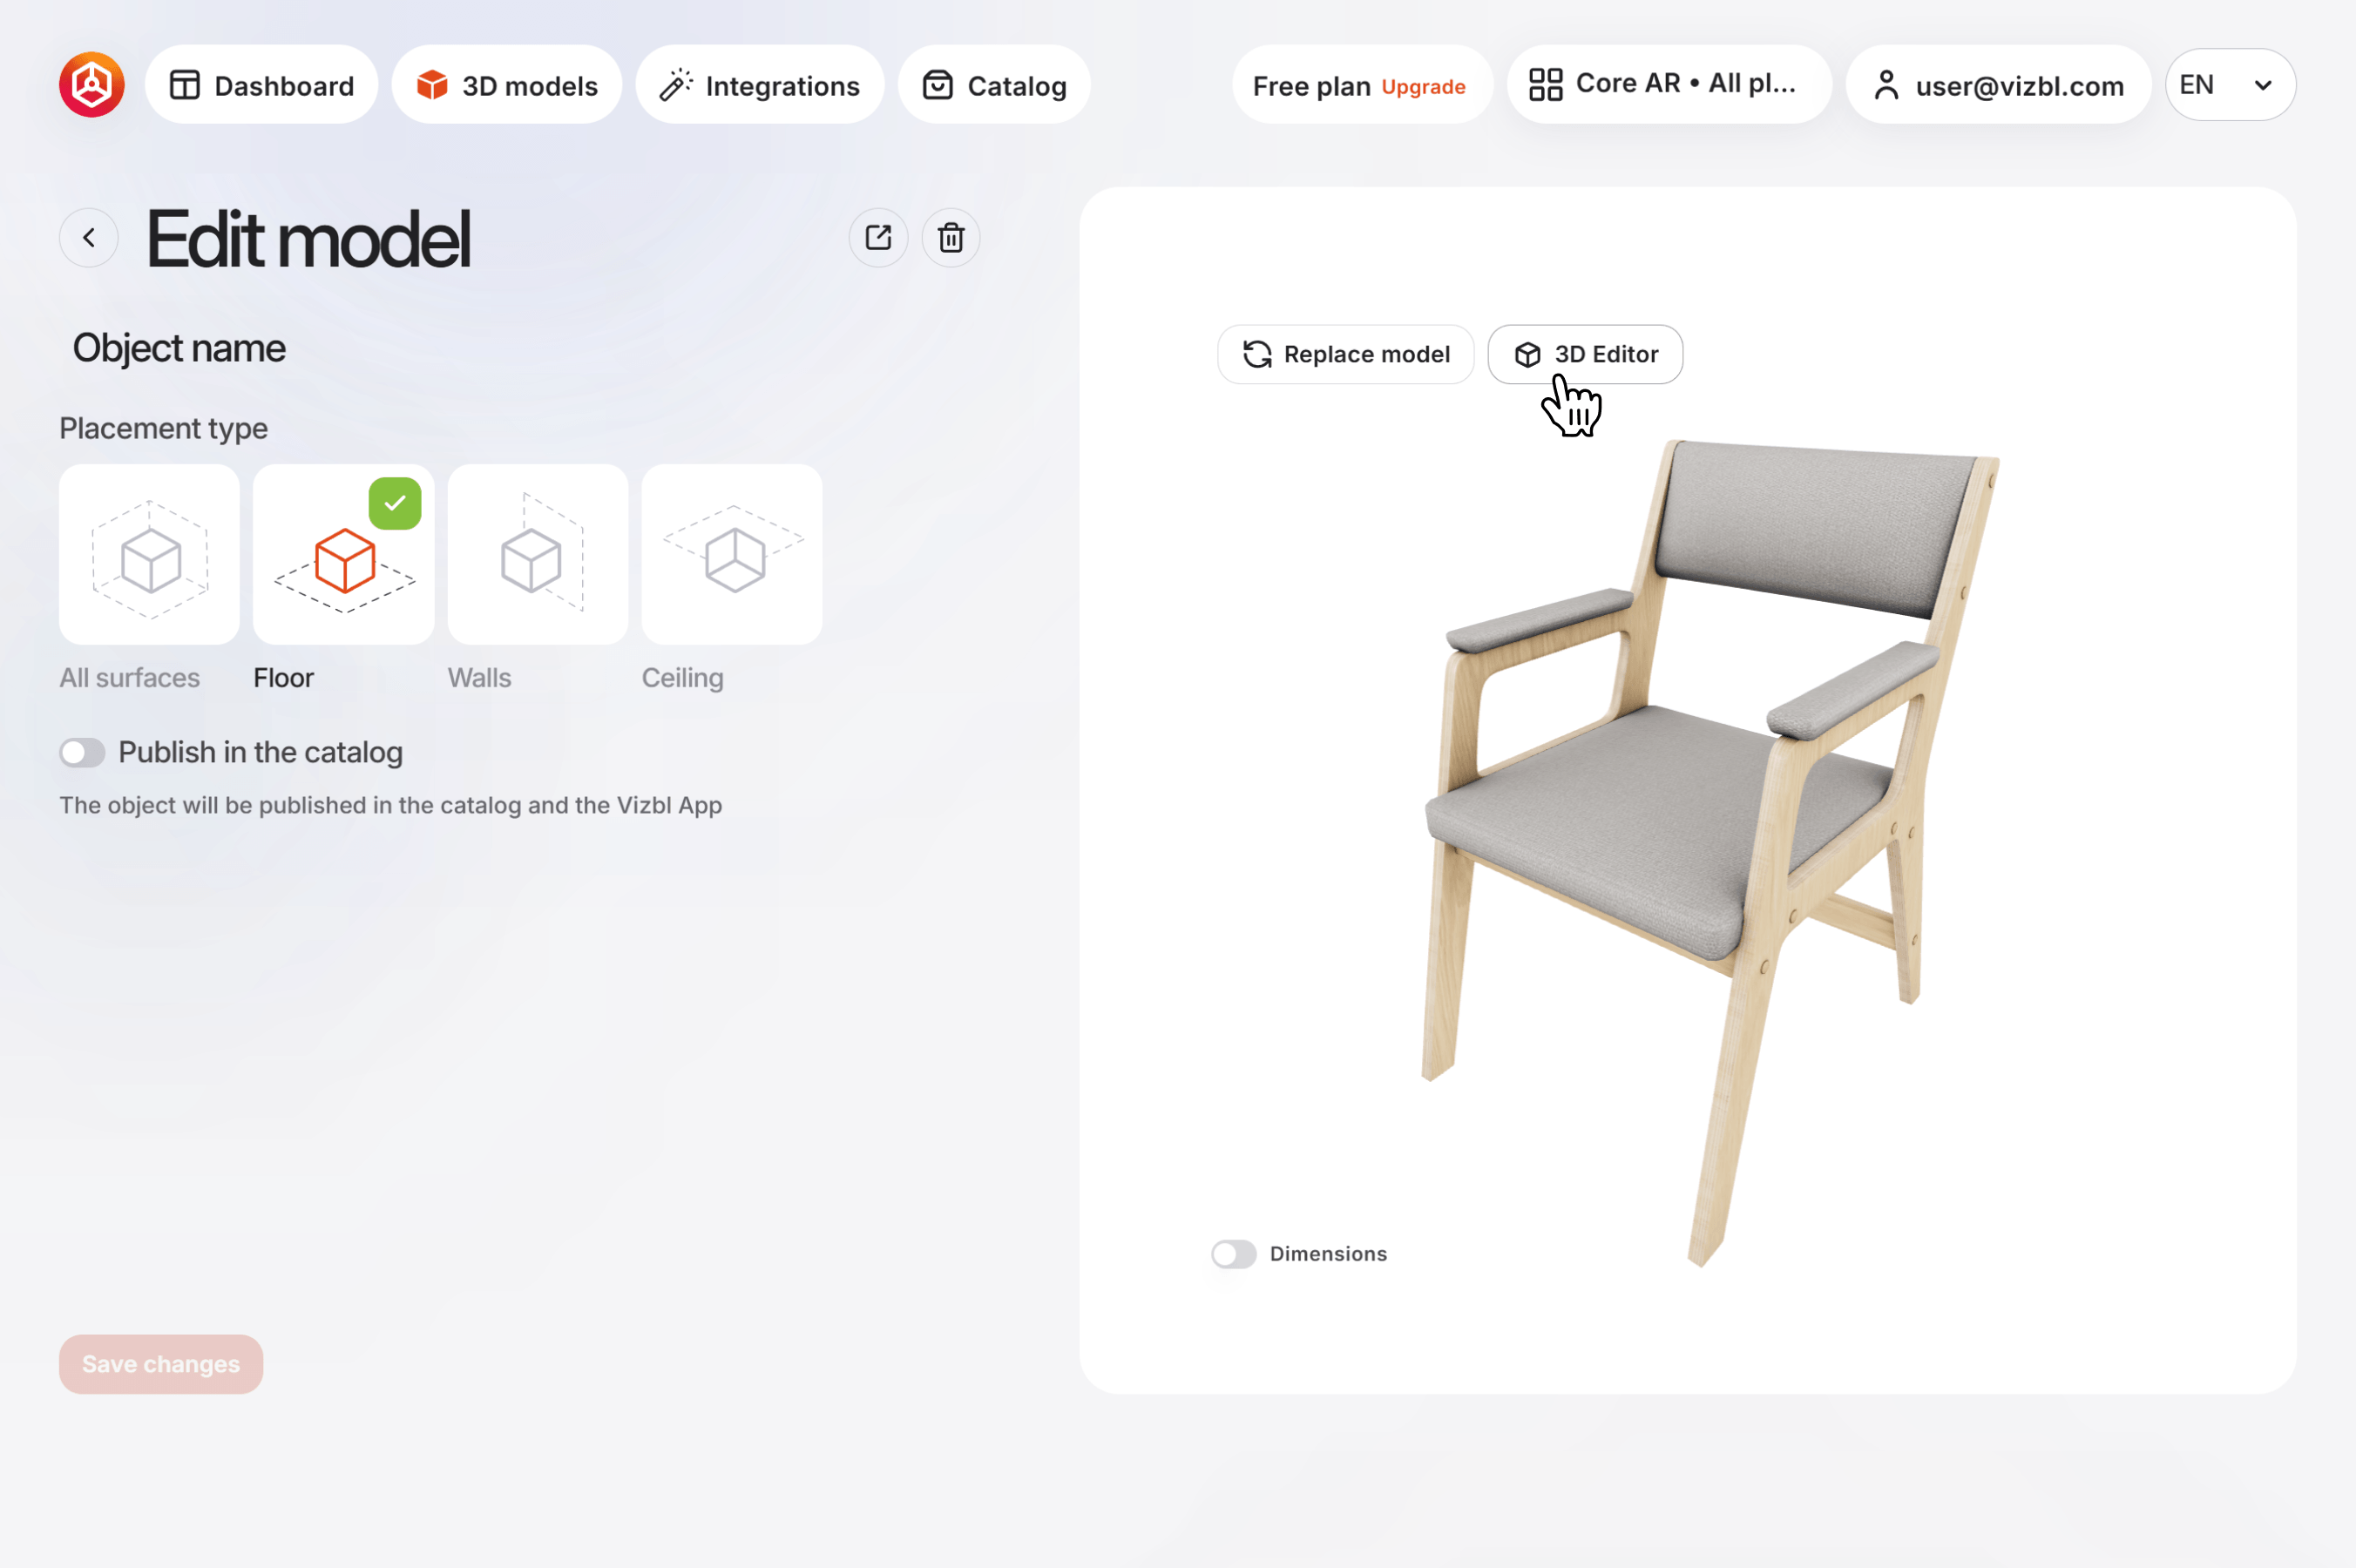
How to upload a 3D model to the Vizbl platform
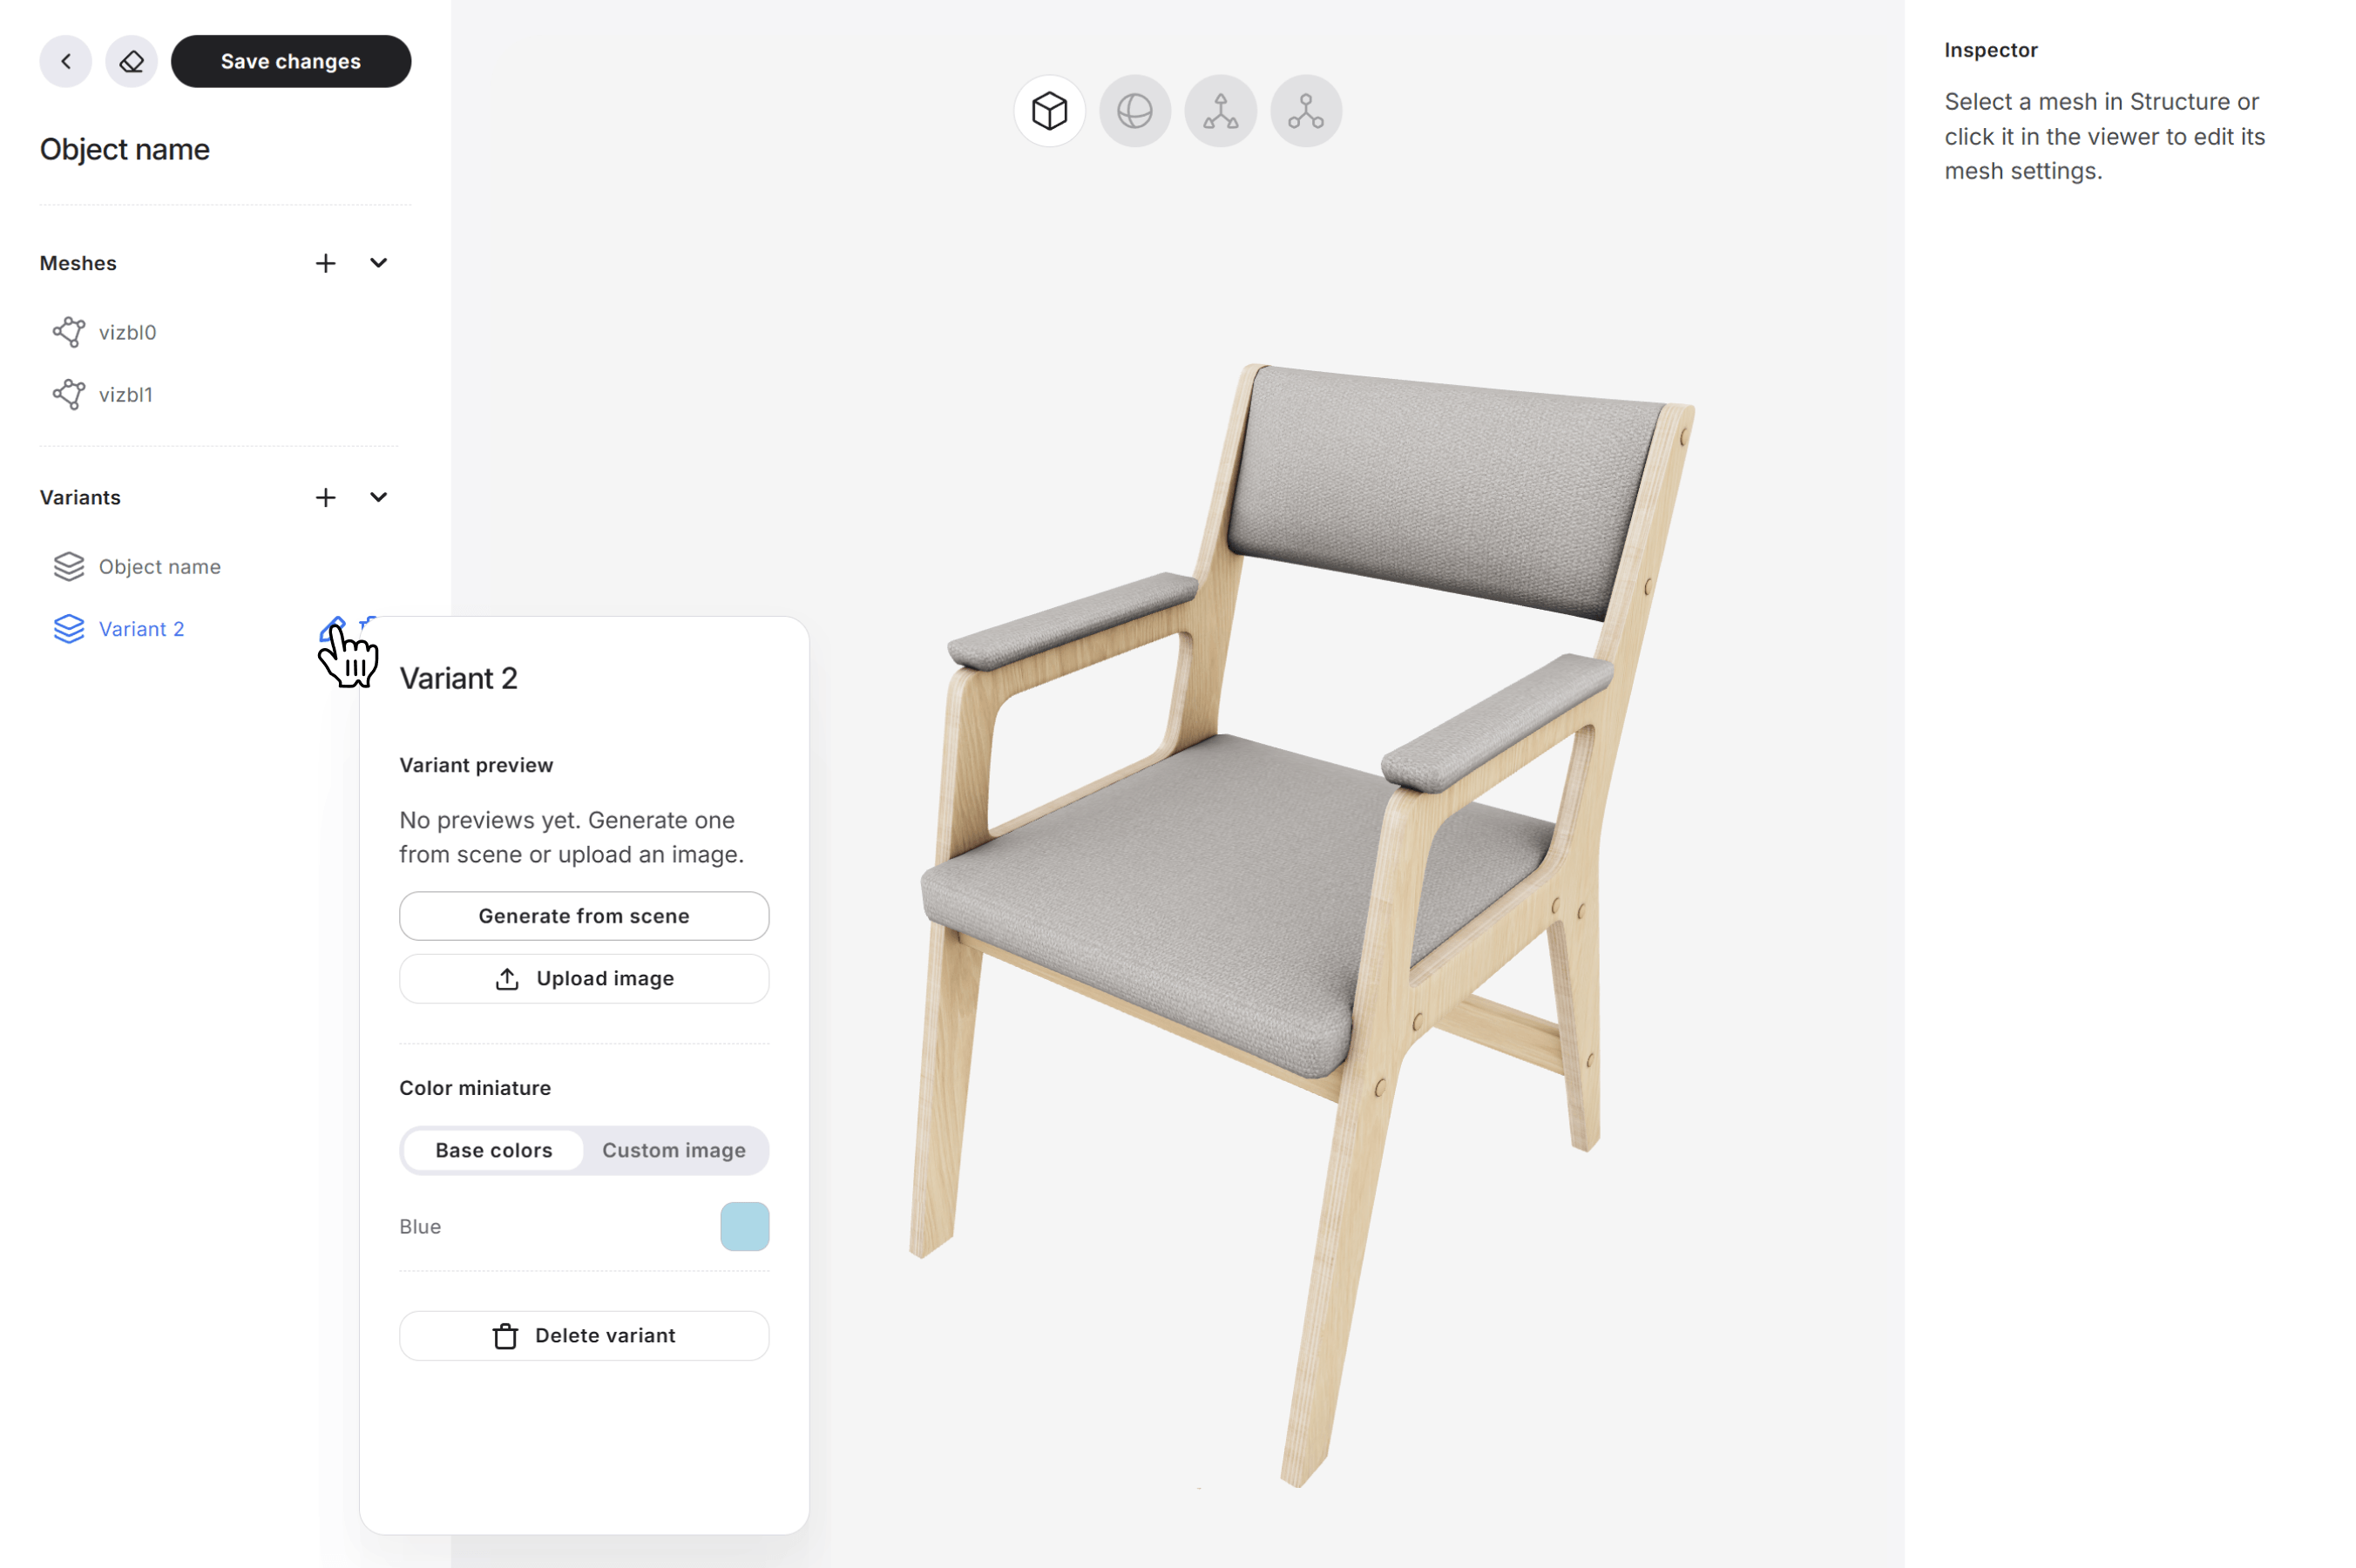
4. In the left sidebar, find the Variants section and click + to add a new variant.
All further changes will apply only to the new variant. The original variant will remain unchanged.
Click the pencil icon next to a variant to open a menu where you can upload or generate a preview image and set a color thumbnail.
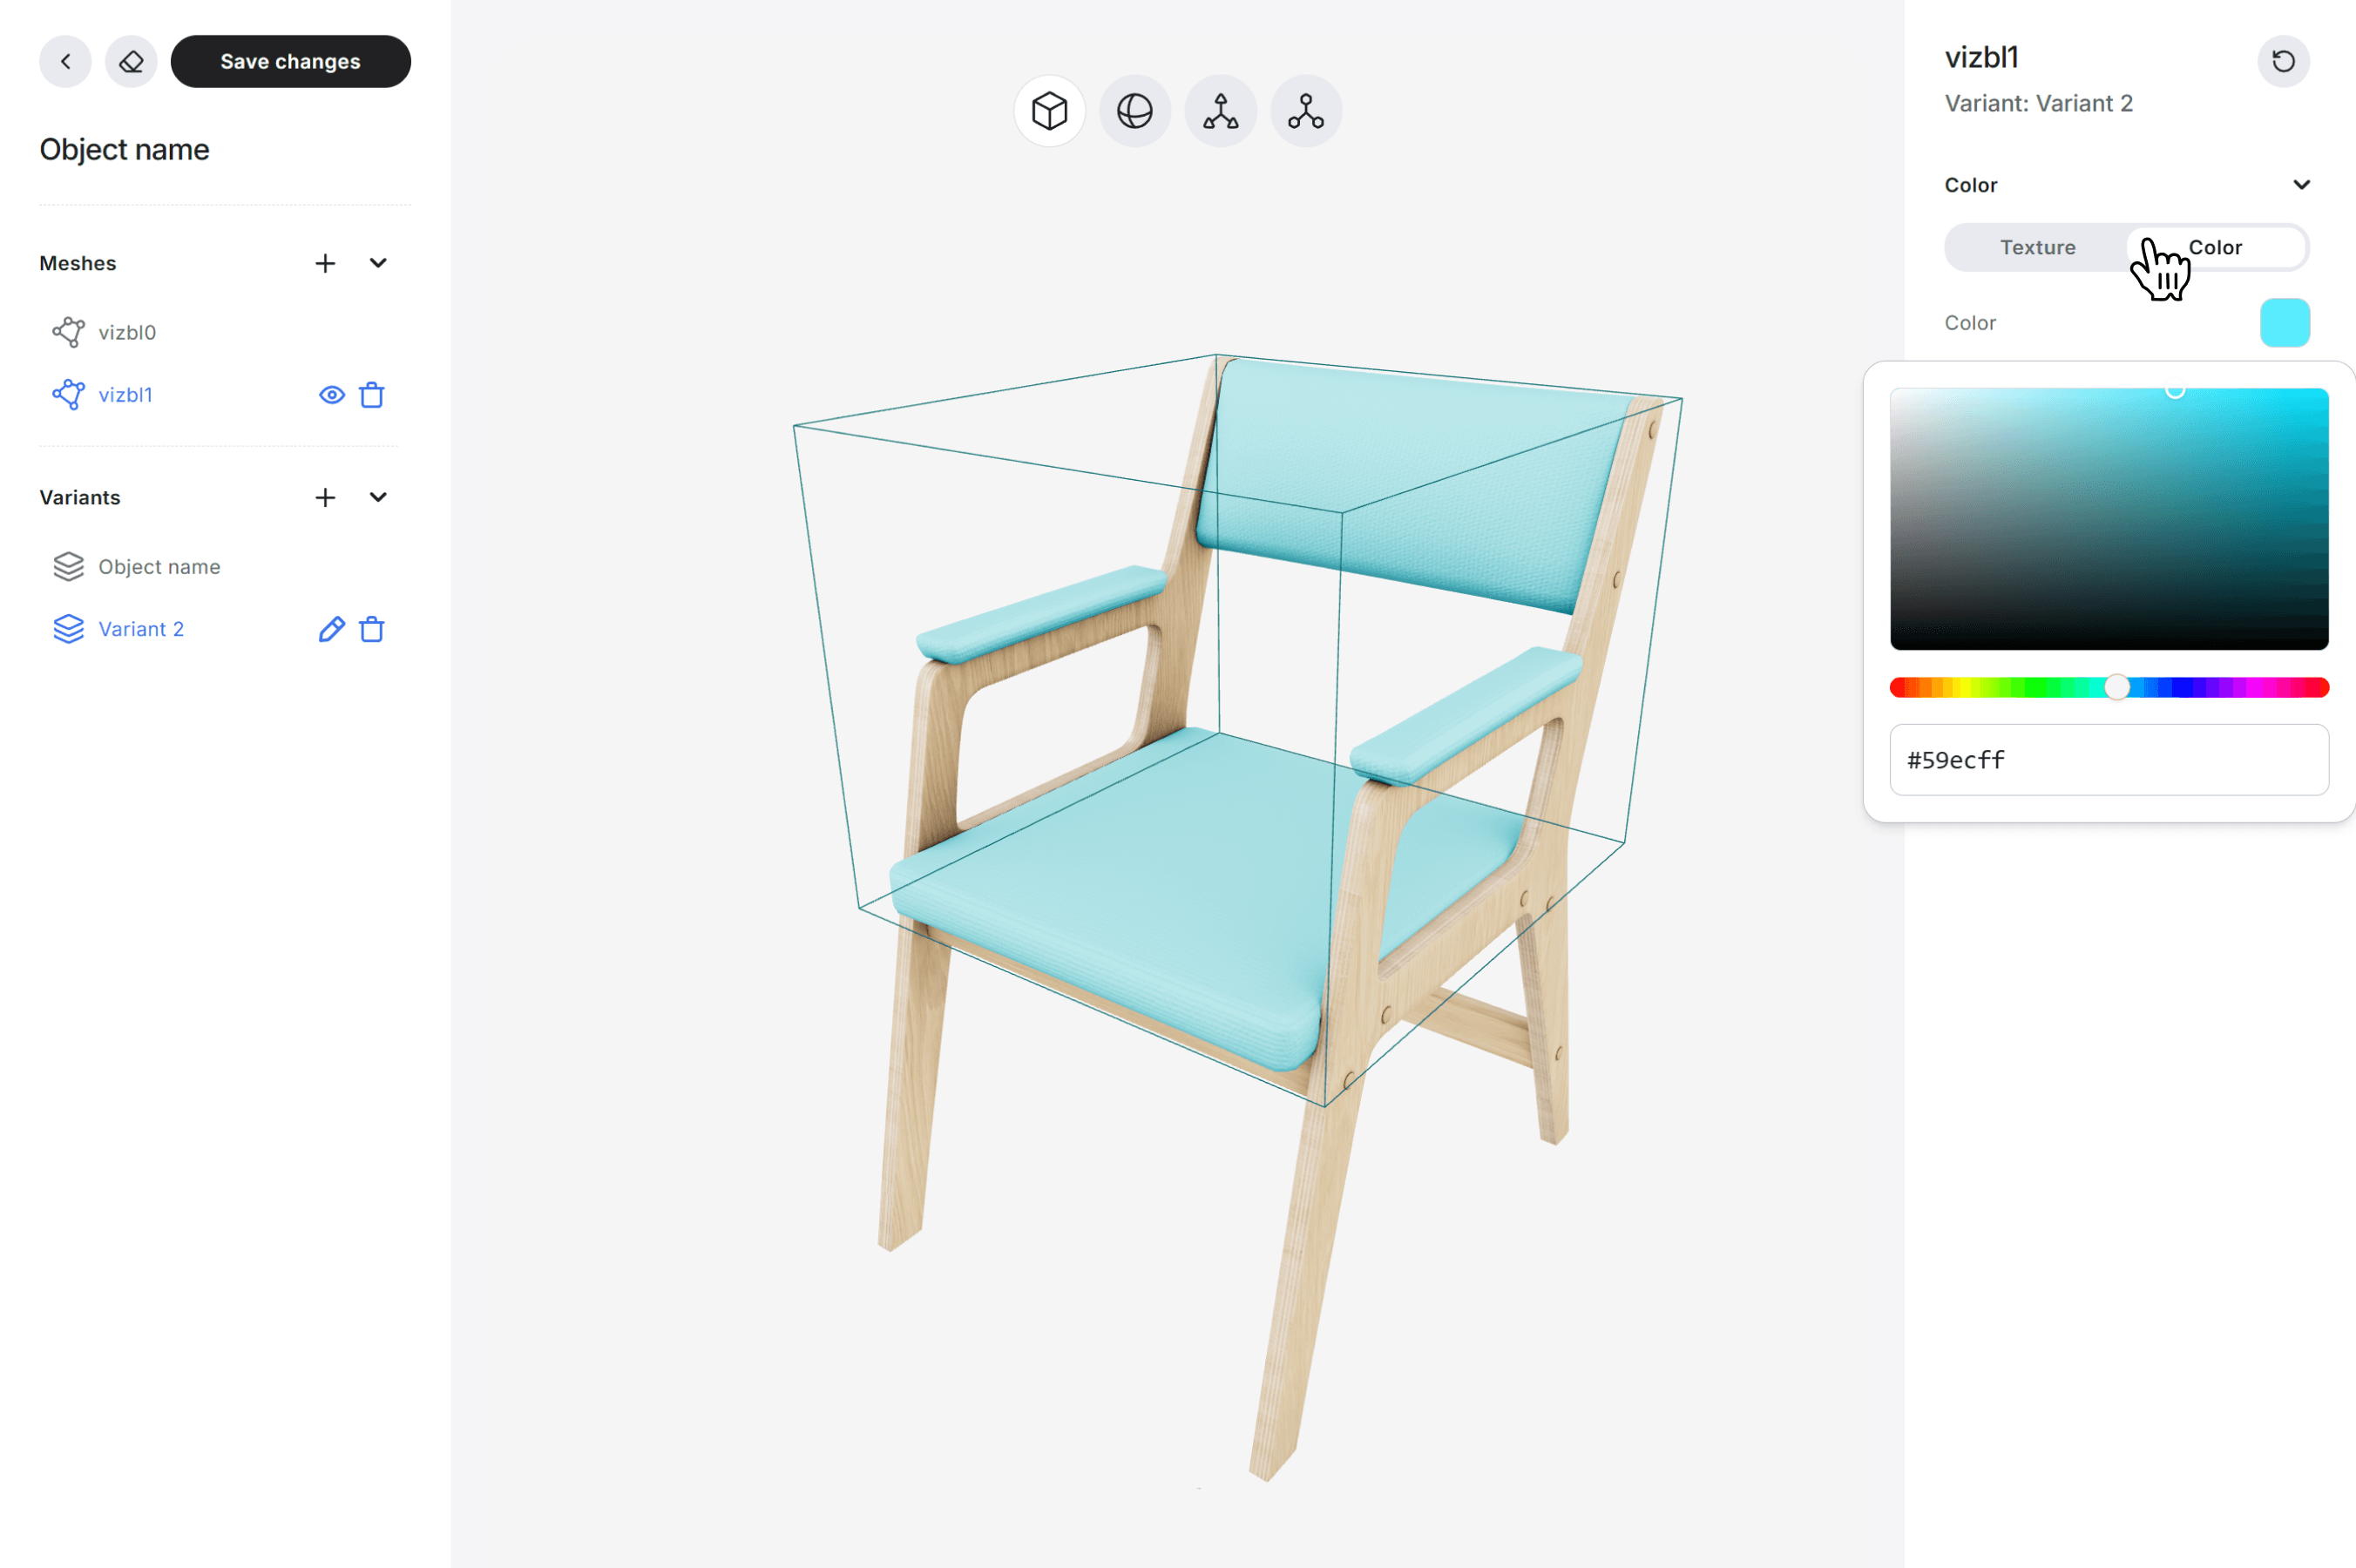
In the workspace, select the part of the object you want to edit. You can also select it from the Meshes list in the left sidebar.
If your object consists of a single mesh, all changes will apply to the entire object.
To change the appearance of the selected mesh:
1. In the left sidebar, open the Color section.
2. Choose one of the following options.
Upload a different texture for the selected mesh:
1. Click the current texture preview.
2. Select and upload a new texture file.
Replace the texture with a solid color:
1. Click the color swatch.
2. Choose the color you want to apply.
To save the variant, click Save in the top-left corner.
To switch between existing variants, click a variant name in the Variants section in the left sidebar.
All saved variants will be available to customers in the multi-object AR viewer.
You can also edit other object properties, including transparency, normal map intensity, and material settings.


